
A window replacement preparation checklist is the complete set of tasks homeowners must finish before installers arrive, covering everything from clearing furniture to testing for lead paint. Skipping even one step on this list causes delays, safety risks, and unexpected costs. With the right home window replacement guide in hand, you protect your belongings, your family, and your investment. Proplas has worked with over 10,000 Canadian homeowners and knows exactly where preparation breaks down. This guide gives you every step, in the right order, so your installation day runs without surprises.
What must you do before window replacement day?
The window replacement preparation checklist starts at least 48 hours before your installer arrives. Waiting until the morning of the job is the single most common mistake homeowners make.
Clear the work zone first. Contractors need roughly three feet of clear space around every window, both inside and outside. Move planters, patio furniture, garden tools, and any outdoor décor away from the exterior walls. Inside, push sofas, bookshelves, and area rugs back from each window. This is not just about convenience. A cluttered work zone slows installers down and increases the chance of accidental damage to your belongings.

Address lead paint before anything else. Homes built before 1978 require special attention. The EPA’s RRP Rule mandates lead-safe practices during any window replacement in older homes, including containment with plastic sheeting, HEPA vacuuming, and wet wiping. If you are unsure whether your home has lead paint, treat it as though it does. Purchase an EPA-recognised test kit from a hardware store, or ask your contractor to test before work begins.
Here is your pre-installation checklist:
- Remove curtains, blinds, and all window treatments at least 24 hours before installation
- Deactivate security sensors on every window being replaced
- Confirm permits are pulled and approved by your local municipality
- Notify neighbours about noise and access needs, especially for exterior scaffolding
- Collect your “Renovate Right” pamphlet if your home predates 1978
- Confirm the installer’s arrival window and your own availability for the full day
Pro Tip: Schedule your installation for a mild, dry day when possible. Extreme cold or rain affects sealant curing times and can delay the final weatherproofing step by hours.
How do you protect your home during window removal?
Dust and debris are unavoidable during window removal. The goal is to contain them, not eliminate them entirely.
Seal interior doorways leading to the rest of your home with plastic sheeting taped at the top and sides. Close HVAC vents in the rooms being worked on. Containment must extend at least 10 feet outside the building perimeter in older homes to prevent lead dust from spreading to neighbouring areas. This is a regulatory requirement, not a suggestion.
Cover all electronics, upholstered furniture, and artwork that cannot be moved. Use drop cloths rated for construction work rather than lightweight fabric sheets. Lightweight sheets shift underfoot and allow fine dust to pass through. Remove or relocate pets and any delicate plants from the work area entirely.
- Tape plastic sheeting over HVAC registers in affected rooms
- Cover electronics and upholstered items with heavy drop cloths
- Remove fragile décor, artwork, and valuables from window walls
- Relocate pets to a separate, closed room or arrange for them to leave the home
- Keep a HEPA-filtered vacuum nearby for quick cleanup between windows
OSHA recommends HEPA-filtered vacuums and local exhaust ventilation as the primary controls for silica and construction dust during renovation work. Ask your contractor whether they bring their own HEPA vacuum or whether you need to arrange one.
Pro Tip: Place a clean doormat at the entrance to the work area. Installers tracking dust through your home is one of the most common complaints after window replacement. A mat catches most of it before it spreads.
After all windows are installed, your contractor should perform a cleaning verification using EPA comparison cards to confirm the area is free of lead dust. Ask to see this step completed before signing off on the job.
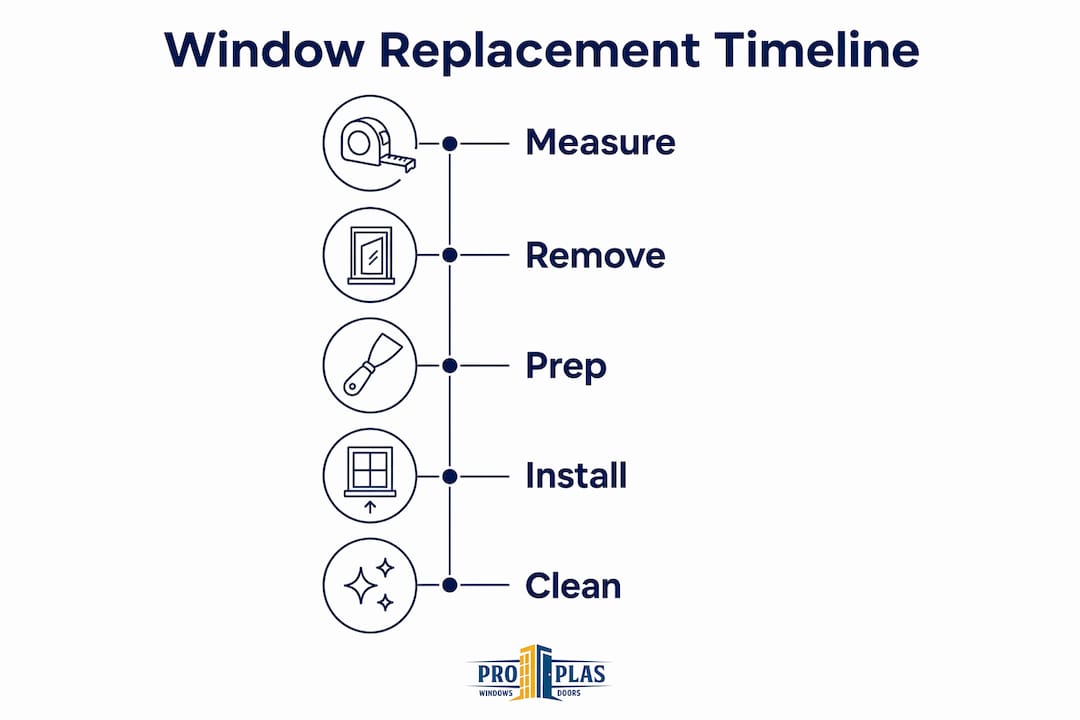
What does the window replacement timeline actually look like?
Homeowners consistently underestimate how long full-house window replacement takes. A single window swap takes roughly half a day, while replacing 15 to 20 windows spans 2 to 4 working days. Plan your schedule around these numbers, not around optimistic estimates.
| Task | Estimated time |
|---|---|
| Measurement verification | 30–60 minutes |
| Old window removal | 30–45 minutes per window |
| Rough opening preparation | 15–30 minutes per window |
| Flashing and weatherproofing | 20–30 minutes per window |
| Window setting and levelling | 30–45 minutes per window |
| Insulating and sealing | 15–20 minutes per window |
| Interior and exterior trim | 30–60 minutes per window |
| Final cleaning and verification | 30–60 minutes total |
Weather affects every stage after rough opening preparation. Rain delays exterior sealing. Temperatures below 5°C slow caulk and foam curing. If your installation falls during a cold snap, ask your installer how they handle low-temperature applications. A good contractor has a clear answer.
Your cooperation speeds up every stage. Keep the work area clear throughout the day, not just at the start. Installers who need to ask you to move items mid-job lose 15 to 30 minutes per interruption. Stay available by phone if you leave the home, and confirm access to all windows before the crew arrives.
What window replacement mistakes should you avoid?
The most costly mistakes in replacement window planning happen before the first window comes out. Catching them early saves money and keeps your family safe.
- Skipping lead paint testing. Homes built before 1978 carry real risk. Disturbing lead paint without containment exposes your family to lead dust. Even when test results come back negative, many professional contractors default to lead-safe practices as a precaution.
- Failing to clear the work area. Installers who cannot access a window safely take longer and risk damaging your belongings.
- Not pulling permits. Local codes in Ontario and across Canada often require permits before window replacement. Skipping this step can void your warranty and create problems when you sell your home.
- Using high-expansion foam. High-expansion foam bows window frames, causing operational problems and gaps in the seal. Low-expansion foam is the correct product for window perimeters.
- Ignoring cleanup verification. Finishing the job without a formal lead dust check leaves your home in an unsafe condition, especially for children and pregnant women.
- Poor communication with your installer. Scheduling and access issues are the leading cause of delays on installation day.
- Delaying measurements. Ordering windows without confirmed measurements leads to sizing errors that push your project back by weeks.
Pro Tip: Walk through your home with your installer the evening before or the morning of the job. Confirm every window on the list, point out any access concerns, and ask about the cleanup process. Ten minutes of conversation prevents hours of problems.
What tools and documents should you have ready?
Preparation for window installation means gathering both physical tools and paperwork before the crew arrives.
Tools and materials
| Item | Purpose |
|---|---|
| Measuring tape | Verify rough opening dimensions match ordered windows |
| Plastic sheeting | Dust and debris containment |
| Heavy drop cloths | Protect floors and furniture |
| HEPA vacuum (if DIY) | Safe dust removal, especially in older homes |
| Ladder | Access to upper windows for pre-inspection |
| Cleaning supplies | Post-installation wipe-down |
Documents and records
Work records under EPA RRP must be kept for at least three years. Keep the following on hand:
- “Renovate Right” pamphlet (required for pre-1978 homes)
- Lead test results from your EPA-recognised kit or certified inspector
- Signed work agreement with your contractor
- Permits and municipal approvals
- Manufacturer window specifications and installation instructions
- Warranty documentation from your window supplier
Different window types also require slightly different handling during installation. Casement windows need clear swing clearance during fitting. Picture windows are heavier and require two-person handling. Double hung windows need track alignment checks before the installer seals the frame. Knowing your window type helps you ask the right questions and confirm your installer is following the correct process.
Key takeaways
A thorough window replacement preparation checklist is the single most effective way to avoid delays, safety hazards, and unexpected costs on installation day.
| Point | Details |
|---|---|
| Clear three feet around each window | Remove furniture, plants, and décor inside and outside before installers arrive. |
| Test for lead paint in older homes | Homes built before 1978 require EPA RRP compliance, including containment and cleanup verification. |
| Plan for 2–4 days on full-house jobs | Single windows take half a day; 15–20 windows span multiple working days. |
| Use low-expansion foam only | High-expansion foam bows frames and creates gaps that compromise the seal. |
| Keep all documents for three years | Work records, permits, and lead test results protect your warranty and legal standing. |
What 25 years of installations taught us about preparation
After working with over 10,000 Canadian homeowners, the pattern is clear. The projects that go wrong almost always trace back to one skipped step in the preparation phase, not a problem with the windows themselves.
The most overlooked task is lead paint testing. Homeowners in homes built before 1978 often assume their house is fine because it looks fine. Lead paint does not announce itself. We have seen families skip the test, then face a full remediation process after the fact. The cost and disruption of that outcome far exceed the cost of a $30 test kit.
The second most overlooked task is permit confirmation. Local codes vary across Ontario municipalities. Some require inspections before and after installation. Skipping the permit does not make the requirement disappear. It creates a liability that surfaces when you refinance or sell.
Early communication with your installer is the preparation step that pays the highest return. A 10-minute call the day before installation resolves access questions, confirms the window list, and sets realistic expectations for noise and disruption. Homeowners who make that call report smoother installations and fewer surprises.
Keep every document related to your window replacement, including the warranty, the work agreement, and the lead test results. Warranty coverage depends on documented installation compliance. A file folder with your paperwork is cheap insurance.
— Proplas
Proplas makes window installation preparation straightforward
Proplas brings 25 years of experience to every installation in Toronto and the GTA, and that experience starts well before the first window comes out.

Our team walks you through every preparation step before your installation date, from permit requirements to lead paint protocols. We offer casement windows, double hung windows, picture windows, and more, all Energy Star certified and backed by a lifetime warranty. No hidden fees, no bureaucratic delays. Most installations are complete within three days. Contact Proplas today for a consultation and get a clear, transparent quote for your home.
FAQ
What is a window replacement preparation checklist?
A window replacement preparation checklist is a structured list of tasks homeowners complete before installation day, covering workspace clearance, lead paint testing, permit confirmation, and document collection.
How far in advance should I prepare for window installation?
Start preparation at least 48 hours before your installation date. Lead paint testing and permit approvals may require more lead time, so confirm those steps one to two weeks ahead.
Do I need to test for lead paint before window replacement?
Yes, if your home was built before 1978. The EPA’s RRP Rule requires lead-safe work practices during window replacement in older homes, and testing determines the level of containment required.
How long does a full-house window replacement take?
A single window takes roughly half a day. Replacing 15 to 20 windows typically spans 2 to 4 working days, depending on complexity, access, and weather conditions.
What documents should I keep after window replacement?
Keep your signed work agreement, permit approvals, lead test results, the “Renovate Right” pamphlet, and your warranty documentation. EPA RRP rules require work records to be retained for at least three years.