
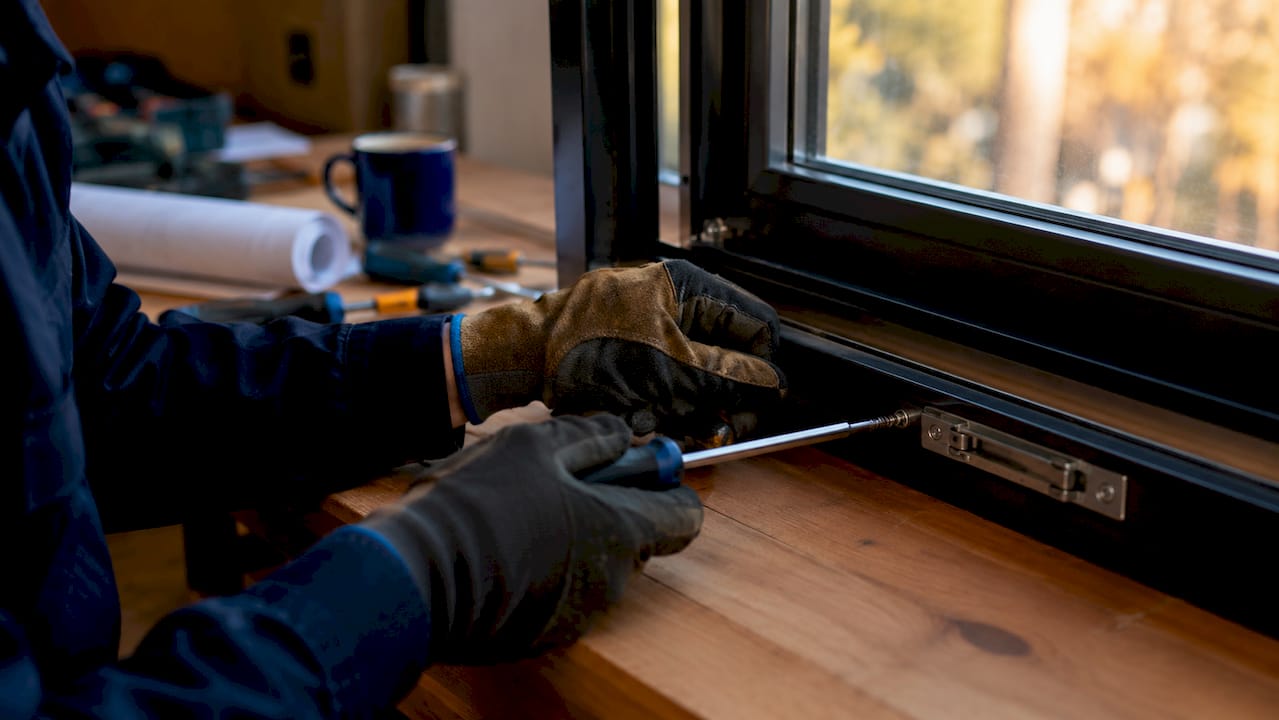
Window adjustment after install is the process of making small, deliberate hardware and alignment tweaks to newly installed windows so they seal properly, operate smoothly, and perform efficiently. Most homeowners do not realise these adjustments are a normal part of the post-installation process, not a sign that something went wrong. The industry term for this work is “snagging,” and it covers everything from tightening hinge screws to correcting sash position. Done correctly, post-install window adjustment protects your warranty, prevents draughts, and extends the life of your windows. The tools you need are simple: a 4mm Allen key, a flathead screwdriver, and a tape measure.
What are the common signs that windows need adjustment after installation?
Window alignment problems after install are easy to spot if you know what to look for. The most common signs fall into a few clear categories.
Signs your windows need adjustment:
- Sash binding or sticking: The window requires force to open or close. This usually means the sash is sitting too close to one side of the frame.
- Uneven gaps around the frame: You can see daylight or feel a draught along one edge of the closed window. Gaps wider than 2mm on any side signal a misalignment.
- Handles and locks that are stiff or loose: Hardware that does not engage cleanly often means the sash has shifted out of position relative to the frame.
- Draughts and poor sealing: A simple paper test for seals tells you a lot. Close the window on a sheet of paper and try to pull it out. If the paper slides out with little resistance, the seal is inadequate and adjustment is needed.
- Condensation between panes: This is not an adjustment issue. Moisture inside a double-pane unit means the seal has failed and the unit needs replacement.
Pro Tip: Run your hand slowly around the closed window frame on a cold day. Any spot where you feel cool air is a sealing gap that adjustment can likely fix.
The key distinction homeowners miss is the difference between a sash that needs repositioning and a frame that was installed incorrectly. Installation problems often appear within 1–2 seasons as persistent binding, visible gaps at the frame junction, or condensation inside the glass. Simple adjustment fixes the first two; the third requires professional attention.
How to make basic window hardware adjustments safely
Most modern aluminium and vinyl windows have adjustable hinges with small screws that control sash position and friction tension. You do not need specialist skills to use them. You need patience and a methodical approach.
Step-by-step guide to adjusting window hinges:
- Gather your tools. You need a 4mm Allen key and a flathead screwdriver. Do not use power tools on adjustment screws.
- Identify the adjustment screws. On casement and awning windows, these are typically located on the hinge body itself. On slider windows, look for screws on the sash track.
- Loosen the relevant screw slightly. Window hinge adjustments involve loosening the screw, repositioning the sash, and then retightening to achieve smooth operation.
- Apply the quarter-turn rule. A single quarter-turn shifts the sash position by 1–2mm. Make one quarter-turn, then test the window before turning further. This prevents over-adjustment.
- Retighten and test. Close the window fully and check the gap around the frame. Open and close it several times to confirm smooth operation.
- Adjust friction tension if needed. Friction hinge screws control how easily the window opens and how firmly it stays in position. Tighten for more resistance, loosen for less. This prevents windows from swinging shut unexpectedly.
Pro Tip: Mark the original screw position with a small pencil dot before you start. If the adjustment makes things worse, you can return to the starting point without guessing.
The most common mistake homeowners make is turning adjustment screws too far in one session. Over-adjustment on aluminium frames can cause permanent frame cracking or glass breakage. One quarter-turn at a time is the rule, not a suggestion.
When adjustment attempts point to an installation problem
Hardware adjustments only address sash operation. They cannot correct frame-level distortions caused by improper shimming. If your adjustments are not holding, the problem is likely structural.
Signs the issue is installation, not adjustment:
- The window binds again within days of adjustment.
- The frame visibly bows inward or outward when you look along its length.
- Diagonal measurements across the frame differ by more than 5mm. A diagonal measurement difference of more than 5mm signals structural misalignment that requires professional repair, not DIY adjustment.
- Condensation appears inside the double-pane glass unit.
- The sash moves more than 2mm vertically when you lift it while closed. This indicates hinge misalignment or wear that should be addressed under warranty.
Incorrect shimming is the most common root cause of these problems. Proper shimming uses back-to-back opposing shims to create a stable, flat support surface. Using a single wedge shim creates uneven pressure, which causes the frame to distort as the window material expands and contracts through the seasons.
“Vinyl windows expand and contract significantly with seasonal temperature changes. Proper shim placement and allowance for movement reduces long-term binding and frame bowing.” — JLC Online, shimming best practices
Homeowners generally have a 28-day period post-installation to report defects like draughts or water ingress for free rectification under warranty. That window closes fast. Document every issue with photos and measurements before attempting any DIY fix. Attempting repairs before reporting defects risks voiding your warranty and losing your right to professional recourse.
How do different window types affect post-install adjustment?
The adjustment process varies by window style. Knowing your window type tells you where to look and what tools to use.
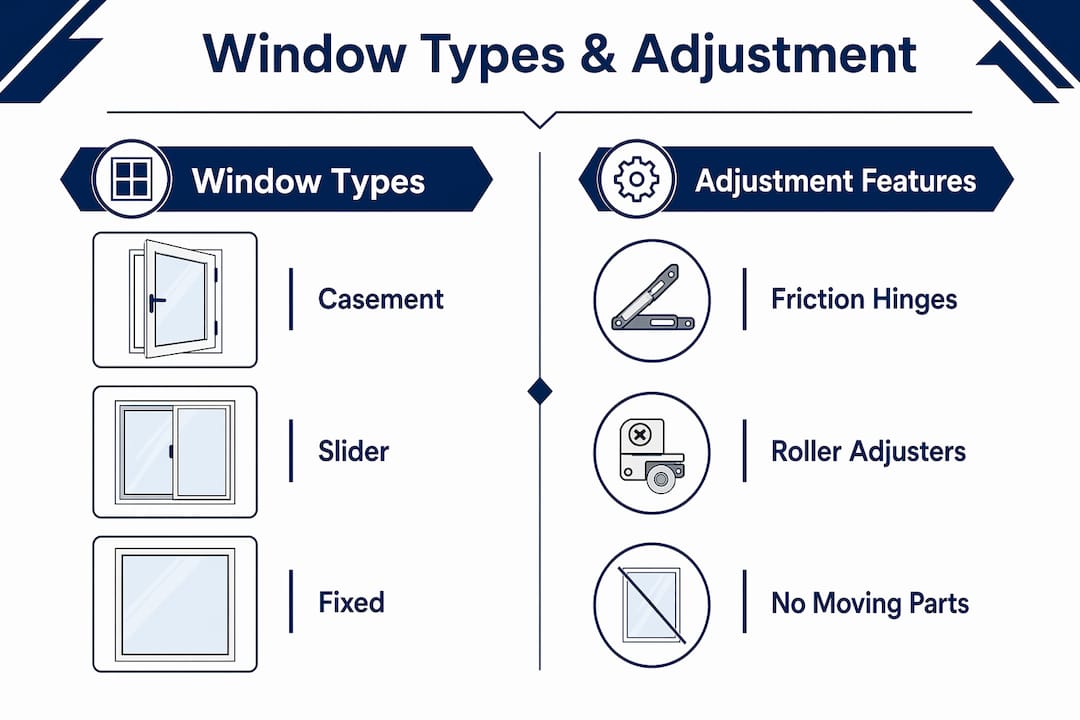
| Window type | Adjustment mechanism | Common post-install issue | DIY adjustment ease |
|---|---|---|---|
| Casement | Hinge screws, friction adjuster | Sash binding, uneven gap at top | Moderate |
| Awning | Top hinge screws, compression adjuster | Bottom seal gap, stiff operation | Moderate |
| Single slider | Track screws, roller height | Sticking on track, draught at meeting rail | Easy |
| Double slider | Dual roller adjusters | Uneven gap between sashes | Easy |
| Fixed/picture | None (no moving parts) | Seal failure, frame gap | Not applicable |
Casement and awning windows are the most common types for post-install adjustment because they use friction hinges. These hinges have two separate adjustment functions: sash position and opening resistance. Confusing the two screws is a common mistake that makes the problem worse.
Slider windows are generally easier to adjust. Most use a roller height adjuster accessible through a small hole in the sash frame. Turning this screw raises or lowers the sash on its track, correcting a draught at the meeting rail.
Pro Tip: Vinyl windows are particularly sensitive to seasonal movement. If your slider window sticks in summer but operates fine in winter, the track may need a small clearance adjustment rather than a permanent fix. Check operation in both seasons before making permanent changes.
Fixed and picture windows have no moving parts and therefore no adjustment mechanisms. If a fixed window has a gap or seal failure, that is an installation defect requiring professional repair.
How to maintain window performance after adjustment
A single adjustment session is not a permanent solution without ongoing care. Regular maintenance including lubrication and inspection of sash sag or seal condition helps maintain window performance and avoids frequent re-adjustment.
Ongoing maintenance checklist:
- Lubricate moving parts twice a year. Use a silicone-based spray on hinges, tracks, and rollers. Avoid oil-based lubricants, which attract dirt and degrade rubber seals.
- Inspect seals each spring and autumn. Run the paper test on every operable window. Replace weatherstripping if the paper pulls out without resistance.
- Check for sash sag every six months. Lift the closed sash gently. Movement greater than 2mm indicates hinge wear that should be reported under warranty.
- Document any new issues with photos. Date-stamped photos protect your warranty claim and give a professional installer the information needed to diagnose the problem quickly.
- Avoid DIY fixes that modify the frame. Cutting, drilling, or filling the frame voids most manufacturer warranties. Stick to hardware adjustments only.
- Schedule a seasonal alignment check. In Canada, the temperature swing between january and july is significant. Check window operation at the start of each heating and cooling season, as thermal expansion can shift sash position by 1–2mm.
The goal of ongoing maintenance is to catch small issues before they become structural ones. A draught that appears in october is easy to fix with a quarter-turn adjustment. The same draught ignored until march may indicate a seal failure that requires a full unit replacement.
Key takeaways
Post-install window adjustment is a normal, manageable process when you know the difference between a hardware fix and an installation defect.
| Point | Details |
|---|---|
| Adjustment is normal post-install | Small sash and hinge tweaks are expected after installation and do not indicate a failed job. |
| Use the quarter-turn rule | One quarter-turn of an adjustment screw shifts the sash 1–2mm; always test before turning further. |
| Document defects within 28 days | Report draughts, gaps, or binding to your installer within the snagging period to protect your warranty. |
| Diagonal measurements reveal structural issues | A frame diagonal difference greater than 5mm requires professional repair, not DIY adjustment. |
| Maintain twice yearly | Lubricate hinges and test seals each spring and autumn to prevent re-adjustment needs. |
Proplas’s take on what homeowners get wrong about window adjustment
The most common mistake we see is homeowners treating adjustment as a sign of failure. It is not. Every window, regardless of quality, benefits from a check and minor tweak after the first heating season. Materials settle, temperatures shift, and hardware beds in. That is normal.
What concerns us more is when homeowners skip the documentation step. We have seen cases where a genuine installation defect, something like an out-of-square frame or a single wedge shim, goes unreported because the homeowner tried to fix it themselves first. By the time they call us, the warranty period has closed and the repair cost falls on them entirely. That outcome is avoidable every time.
The other misconception is that all window types adjust the same way. A casement window and a slider window have completely different hardware systems. Applying casement adjustment logic to a slider can strip the track rollers and turn a minor fix into a costly repair. Know your window type before you touch a screw.
Our advice is straightforward. Inspect your windows within the first month after installation. Run the paper test on every operable unit. Measure the diagonal of any frame that looks off. If the diagonal difference is under 5mm and the sash moves freely after a quarter-turn adjustment, you are done. If it is over 5mm, or if the problem returns within a week, call your installer and reference your warranty replacement rights before touching anything else.
Proplas backs every installation with a lifetime warranty precisely because we know that proper shimming, square frames, and correctly tensioned hinges are the foundation of a window that never needs more than routine maintenance. Get the installation right and adjustment becomes a five-minute seasonal task, not a recurring problem.
— Proplas
Proplas window installation and adjustment services in Toronto and GTA
If your post-install adjustments are not holding, or if you are seeing signs of a deeper installation issue, Proplas can help.

Proplas has 25 years of experience installing and servicing windows across Toronto and the GTA, with over 10,000 satisfied customers. Every installation is Energy Star certified and backed by a lifetime warranty. Our team handles everything from initial installation to post-install snagging checks, so you are never left troubleshooting alone. Whether you need a professional adjustment, a warranty inspection, or a full window replacement, we offer transparent pricing with no hidden fees. Visit Proplas windows and doors to request a callback or get a quote for your home.
FAQ
What is post-install window adjustment?
Post-install window adjustment is the process of fine-tuning window hardware and sash position after installation to correct minor gaps, stiffness, or sealing issues. It is a normal part of the installation process, not a sign of a defective product.
Can windows be adjusted after installation without voiding the warranty?
Yes, minor hardware adjustments using a 4mm Allen key or screwdriver are generally permitted. Avoid cutting, drilling, or filling the frame, and document any defects with photos before attempting repairs to protect your warranty claim.
How do I know if my window needs adjustment or replacement?
If the sash binds but the frame diagonal measurements are within 5mm of each other, adjustment is likely sufficient. Condensation inside the double-pane glass or a frame diagonal difference greater than 5mm indicates an installation defect requiring professional repair.
How long do I have to report window defects after installation?
Homeowners generally have a 28-day period after installation to report defects such as draughts or water ingress for free rectification under warranty. Report issues promptly and document them with dated photos.
What tools do I need to adjust window hinges?
A 4mm Allen key and a flathead screwdriver cover most hinge and sash adjustments on aluminium and vinyl windows. Do not use power tools on adjustment screws, as over-tightening can crack the frame or break the glass.