Door weatherstrip replacement is the process of removing worn sealing material from around a door frame and installing new weatherstripping to restore a tight, energy-efficient seal. The industry term is “weatherstripping,” and it covers every flexible strip, sweep, or compression seal that closes the gap between your door and its frame. When that seal fails, heated or cooled air escapes freely, your energy bills climb, and drafts make rooms uncomfortable. This guide covers door weatherstrip types, how to spot failure, step-by-step installation, and how to keep new weatherstripping performing for years.
What is door weatherstrip replacement and which type do you need?
Door weatherstrip replacement starts with choosing the right material for the right location. Using the wrong type is the single most common reason new weatherstripping fails within months. Wrong type results in failure within around eight months, regardless of how carefully it was installed.
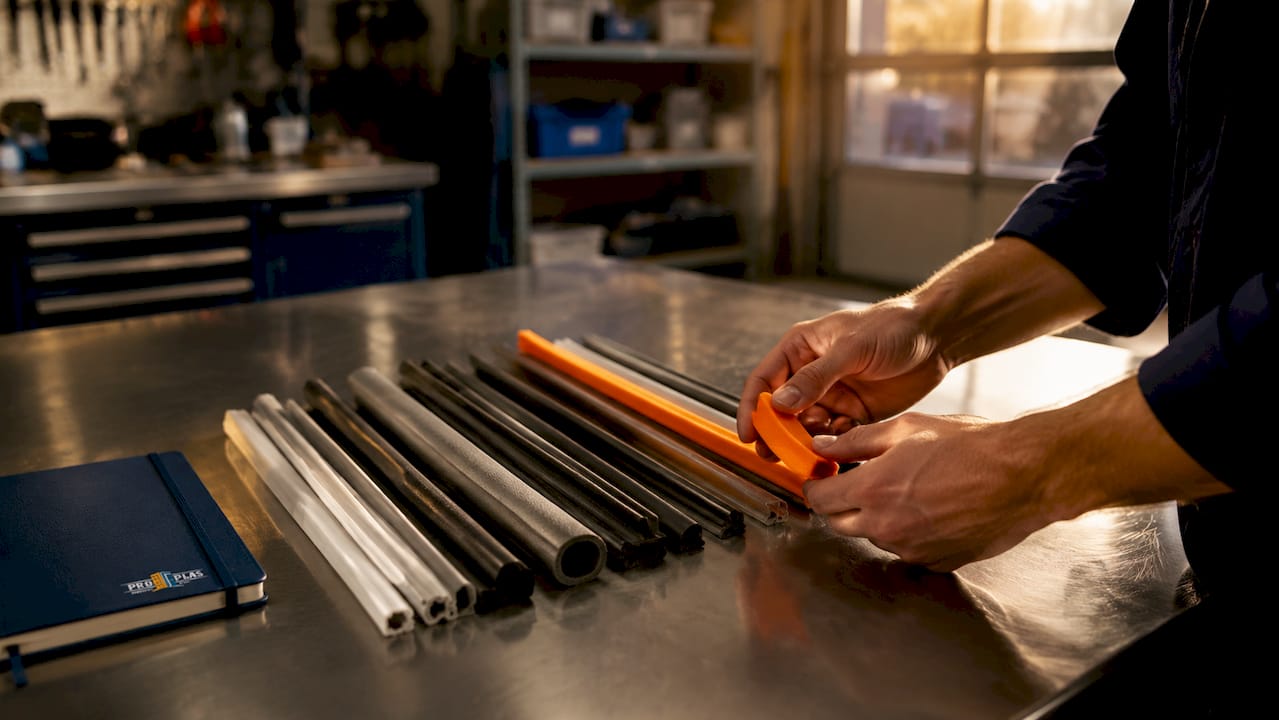
The five main types are:
- Adhesive foam tape: The simplest option. Press-and-stick foam compresses against the door stop. Best for low-traffic interior doors or temporary fixes.
- V-strip (tension seal): A folded strip of metal or plastic that springs open to fill gaps along the door jamb and head. Durable and nearly invisible once installed.
- Tubular rubber or compression seals: A hollow rubber or silicone tube that compresses when the door closes. Excellent for exterior doors with consistent gaps.
- Door sweeps: A flat strip of rubber, vinyl, or brush fibres attached to the door bottom. Seals the gap between the door and threshold.
- Automatic door bottoms: A retractable sweep that drops to seal when the door closes and lifts when it opens. Professionals recommend automatic door bottoms for high-traffic doors to prevent wear and drag.
Material matters as much as profile. Silicone and EPDM outperform standard vinyl in flexibility and durability for exterior doors exposed to Canadian climate swings. Vinyl hardens and cracks faster when temperatures drop below freezing. Silicone stays pliable from extreme cold to summer heat. For most Canadian exterior doors, EPDM compression seals on the jambs and head, combined with a brush sweep or automatic bottom, deliver the best long-term performance.
Pro Tip: Save a short piece of your old weatherstripping before you remove it. Bring it to the hardware store to match the profile, kerf depth, and thickness exactly. Generic foam that does not fit the kerf shape leads to poor compression and gaps, even when the material itself is new.
| Location | Recommended type | Best material |
|---|---|---|
| Door jamb sides | V-strip or compression seal | EPDM or silicone |
| Door head (top) | Compression seal | EPDM or silicone |
| Door bottom | Brush sweep or automatic bottom | Rubber or nylon brush |
| Low-traffic interior | Adhesive foam tape | Foam or vinyl |
How do you know when your door weatherstrip needs replacing?
Visible wear is the clearest sign, but not the only one. Check for cracking, flattening, or a compression set where the strip no longer springs back after the door closes. A gap you can see daylight through at night is a definite failure.
Two reliable tests confirm what your eyes suspect:
- The flame test: Hold a lighter or incense stick near the door gap while the door is closed. Visible flame deflection confirms air is passing through. Move slowly along the full perimeter, including the bottom.
- The daylight inspection: On a sunny day, close the door and stand inside in a darkened room. Any light visible around the frame means the seal has failed.
Exterior door weatherstripping typically needs replacement every 3–5 years under standard exterior conditions. Premium silicone or EPDM materials can last up to 10 years with proper care. Door sweeps wear faster, especially on high-traffic entries, and often need attention every 2–5 years. Climate exposure, door traffic, and material quality all affect how quickly a seal degrades.
Maintenance extends lifespan significantly. Clean weatherstripping twice a year with mild soap and water. Avoid petroleum-based cleaners on rubber seals. Apply a silicone-based lubricant to compression seals in autumn before freezing temperatures arrive.
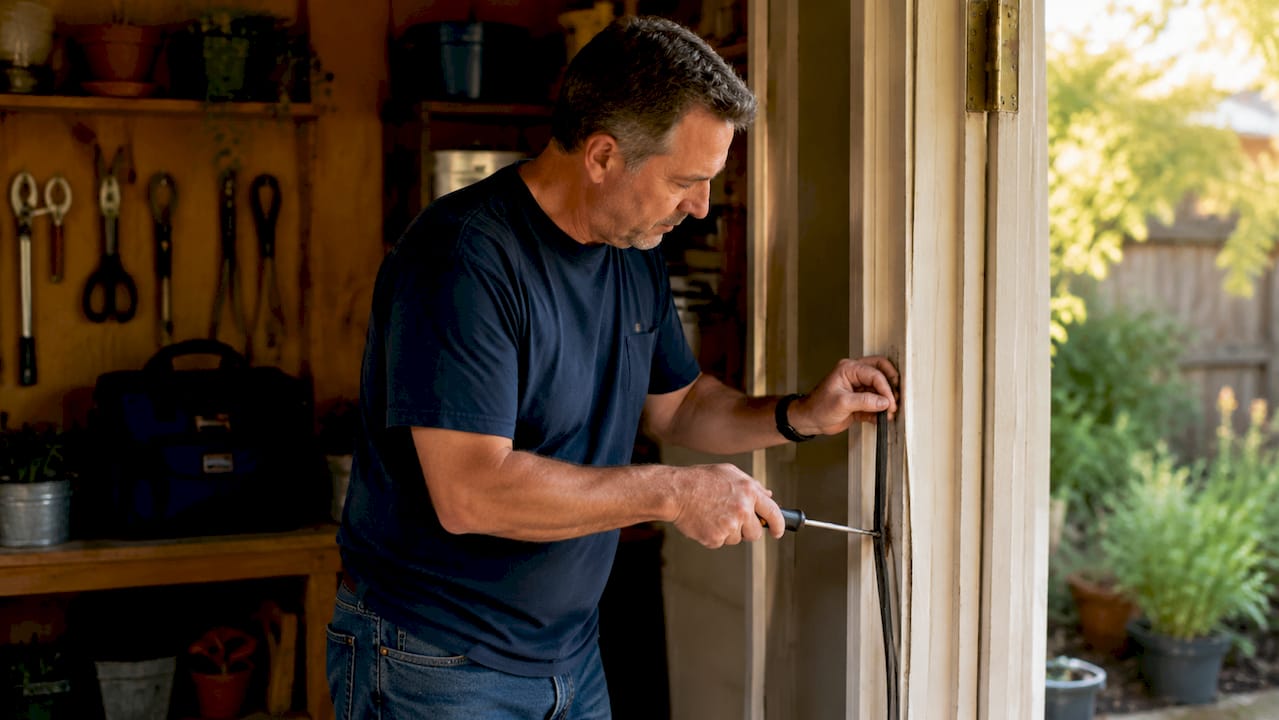
Step-by-step guide to replacing door weatherstrip yourself
A DIY door weatherstrip replacement takes 30–60 minutes and costs between $8 and $60 in materials for a standard exterior door. That is one of the best returns on a home maintenance task you can find.
What you need before you start
Gather these tools: a tape measure, utility knife, scissors, hammer or nail set, screwdriver, rubbing alcohol, clean rags, and your replacement weatherstripping. Check door alignment before you buy anything. A sagging or misaligned door crushes seals unevenly and causes premature failure within months. If the door does not close squarely, fix the alignment first.
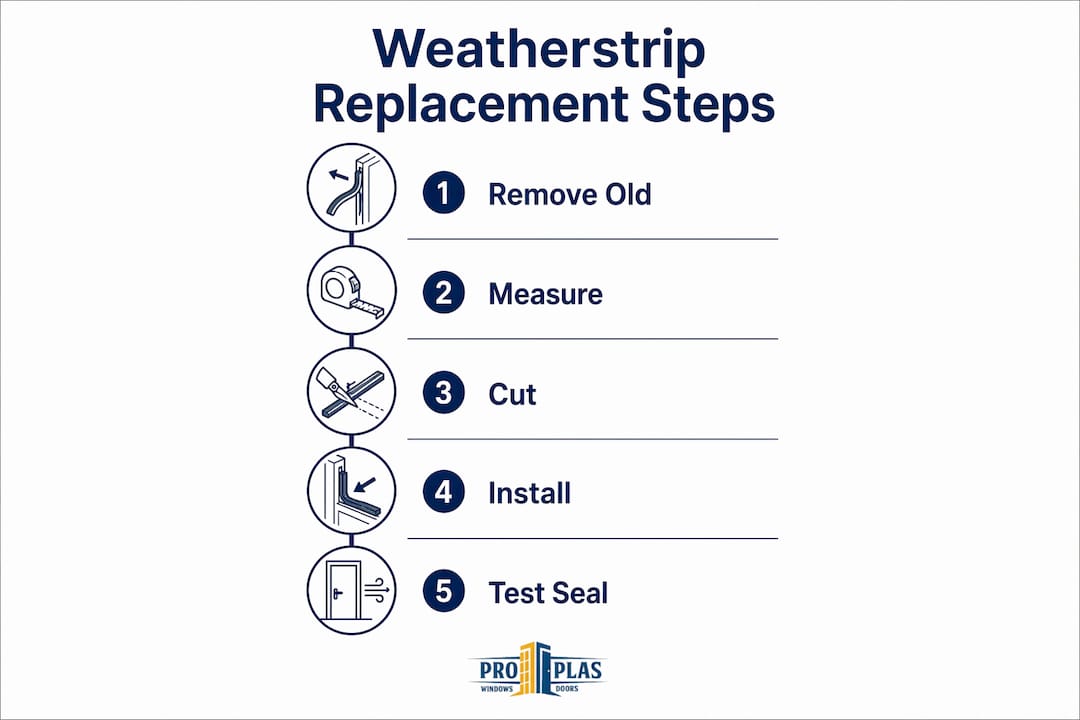
Installation steps
- Remove the old weatherstripping. Pull adhesive-backed strips off slowly to avoid tearing the frame finish. For nail-in or kerf-in types, use a flat pry bar and work carefully along the length.
- Clean the surface thoroughly. Rubbing alcohol removes grease, old adhesive, and invisible residue that causes new adhesive to fail within weeks. Let the surface dry completely before proceeding.
- Measure and cut. Measure each side of the door frame separately. Cut strips slightly long, then trim to fit. Pay close attention to corners. Mitre the ends at 45 degrees where two strips meet at a corner for a tighter fit.
- Install jamb strips first. For kerf-in compression seals, press the spine firmly into the kerf groove. For adhesive-backed types, peel and press from top to bottom, keeping the strip straight. For nail-in V-strips, space fasteners evenly every 15–20 centimetres.
- Install the head strip last. The top strip overlaps the side strips at the corners. This prevents water from tracking behind the seal.
- Install the door sweep or automatic bottom. Position the sweep so it makes firm contact with the threshold without dragging. Screw it in place, then open and close the door to confirm smooth movement.
- Test the seal. Use the flame test or daylight inspection to confirm no gaps remain. Pay extra attention to corners, where most failures occur.
Pro Tip: Never stretch weatherstripping during installation. Stretched material contracts over time and pulls away from the frame, creating leaks exactly where you sealed them.
Common mistakes to avoid:
- Skipping surface cleaning before applying adhesive-backed strips
- Using generic foam that does not match the kerf profile
- Installing the sweep too tight, causing drag and hinge stress
- Ignoring door alignment issues before installing new seals
What benefits does replacing door weatherstripping bring?
Replacing worn weatherstripping delivers immediate, measurable improvements to your home. The benefits go well beyond stopping a cold draught.
- Lower energy bills. Air leakage around doors forces your furnace and air conditioner to work harder. A tight seal reduces that load directly.
- Consistent indoor temperature. Rooms near exterior doors stay more comfortable when cold or hot air cannot infiltrate around the frame.
- Moisture and pest barrier. A proper seal blocks rain-driven moisture, dust, and insects from entering under and around the door.
- Door and frame protection. Moisture infiltration causes wood frames to swell, rot, and warp over time. A good seal slows that damage considerably.
- Reduced noise. Compression seals and door sweeps dampen sound transmission from outside, which matters in urban neighbourhoods.
Replacing weatherstripping is one of the lowest-cost, highest-impact home maintenance tasks available to Canadian homeowners. The material cost is minimal, the installation is straightforward, and the comfort improvement is immediate.
Combining quality weatherstripping with Energy Star replacement windows creates a complete air-sealing system that reduces heat loss through both the door and window envelope.
How to maintain door weatherstripping for lasting performance
Annual inspection keeps weatherstripping performing between replacements. Schedule a check each autumn before temperatures drop, and again in spring after freeze-thaw cycles stress the material.
Annual inspection checklist:
- Run your hand along the full perimeter of the door frame feeling for gaps or compressed sections
- Look for visible cracking, tearing, or sections that have pulled away from the frame
- Check the door sweep for wear, fraying, or sections that no longer contact the threshold
- Open and close the door and listen for changes in resistance that suggest the sweep is dragging or the seal is binding
Cleaning is straightforward. Wipe rubber and silicone seals with a damp cloth and mild dish soap. Rinse and dry completely. Apply a thin coat of silicone spray to compression seals each autumn. Do not use WD-40 or petroleum-based products on rubber seals. They accelerate deterioration.
Replace rather than repair when you see cracking that runs through the full thickness of the material, sections that have separated from the frame over more than 15 centimetres, or a sweep that no longer contacts the threshold even after adjustment. Patching with tape is a temporary fix that fails quickly outdoors.
Pro Tip: Applying exterior-grade caulk alongside fixed weatherstripping on the exterior frame enhances the seal. Avoid caulking moving joints or the door stop itself, where the door contacts the seal.
Call a professional when the door frame itself is damaged, when the door sags despite hinge adjustment, or when a kerf groove has cracked or separated from the frame. These are structural issues that new weatherstripping alone cannot fix.
Key takeaways
Door weatherstrip replacement is the most cost-effective home maintenance task for reducing drafts, lowering energy bills, and protecting your door frame from moisture damage.
| Point | Details |
|---|---|
| Choose the right type | Match weatherstrip profile and material to location: EPDM or silicone for jambs, brush sweep or automatic bottom for the door base. |
| Inspect every year | Check for cracking, compression set, and gaps each autumn before freezing temperatures arrive. |
| Prep the surface properly | Clean with rubbing alcohol before installing adhesive-backed strips to prevent early adhesive failure. |
| Never stretch during install | Stretched weatherstripping contracts over time and creates the leaks you were trying to seal. |
| Replace every 3–5 years | Standard exterior weatherstripping lasts 3–5 years; premium EPDM or silicone can reach 10 years with maintenance. |
Proplas perspective: what 25 years of door installations taught us
After working on over 10,000 doors across the Toronto and GTA area, the pattern we see most often is this: homeowners replace weatherstripping with the wrong profile, skip surface prep, and wonder why the new seal fails before winter ends. The profile matching problem is the one that surprises people most. A strip that looks close enough at the hardware store can sit proud of the kerf or compress unevenly, leaving a gap you cannot see but absolutely feel.
The other lesson we have learned is that door alignment is not optional. We have seen brand-new, high-quality compression seals crushed and torn within a season because the door was sagging two millimetres at the latch side. Fix the door first. Then seal it.
For most homeowners with basic tools and patience, a standard exterior door is a genuine DIY project. The 30–60 minute timeline is realistic if you measure carefully and do not rush the surface cleaning step. Where we recommend calling a professional is when the frame itself is compromised or when the door has settled enough that the gap is uneven along its height. No weatherstrip profile compensates for a door that is not square in its frame.
The cost difference between doing it yourself and hiring a professional for weatherstripping alone is modest. The cost difference between catching a failing seal early and repairing a water-damaged frame is not.
— Proplas
Proplas can help with your door and weatherproofing needs
Weatherstripping is the first line of defence for any exterior door, but the door itself matters just as much. If your door is ageing, warped, or no longer sealing properly despite fresh weatherstripping, it may be time to look at a full replacement.

Proplas has 25 years of experience installing energy-efficient doors across Toronto and the GTA, with over 10,000 satisfied customers and a lifetime warranty on installation. Our team handles everything from product selection to professional fitting, with no hidden fees and installation often completed in as little as three days. Explore our full range of door installation services or browse our steel door options to find the right fit for your home. Get in touch today for a transparent quote with no surprises.
FAQ
What is door weatherstrip replacement?
Door weatherstrip replacement is the process of removing old or damaged sealing strips from around a door frame and installing new ones to stop drafts and air leakage. The goal is to restore a tight seal that improves energy efficiency and indoor comfort.
How often should you replace door weatherstripping?
Standard exterior weatherstripping lasts 3–5 years under typical conditions. Premium silicone or EPDM materials can last up to 10 years with regular cleaning and seasonal maintenance.
What are the signs of worn door weatherstrip?
Visible cracking, flattening, gaps you can see daylight through, and cold drafts near the door frame all indicate the weatherstripping needs replacing. A flame test using a lighter near the closed door confirms air leakage.
How much does door weatherstrip replacement cost?
Materials for a standard exterior door cost between $8 and $60. The project typically takes 30–60 minutes as a DIY task, making it one of the most affordable home maintenance jobs available.
Can you replace door weatherstripping yourself?
Yes. Most homeowners with basic tools can complete a standard weatherstrip replacement in under an hour. The critical steps are matching the correct profile, cleaning the surface with rubbing alcohol before installation, and checking door alignment before starting.