
Bay window customization is the process of designing and installing tailored window treatments, hardware, and furniture to fit a bay window’s unique angled shape. Done well, it adds light, seating, and character to any room. Done poorly, it leaves gaps, wobbling benches, and treatments that won’t close properly. This guide walks you through bay window customization step by step, covering measurements, treatment selection, furniture construction, and the most common mistakes Canadian homeowners make before calling in a professional.
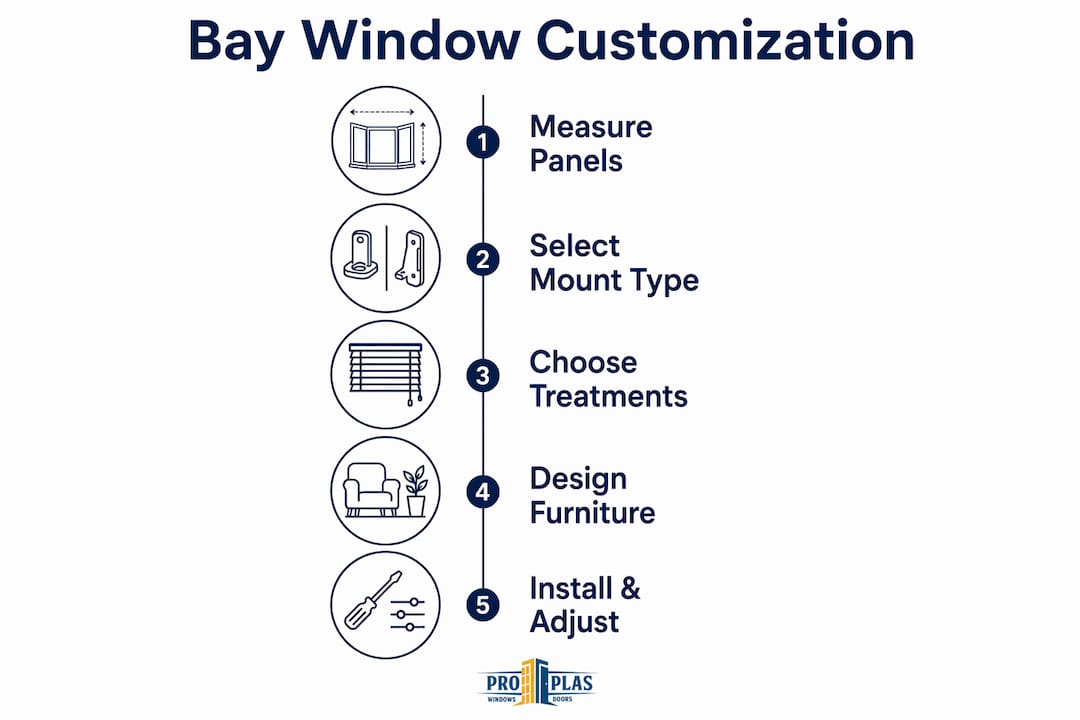
What tools and measurements do you need before customizing a bay window?
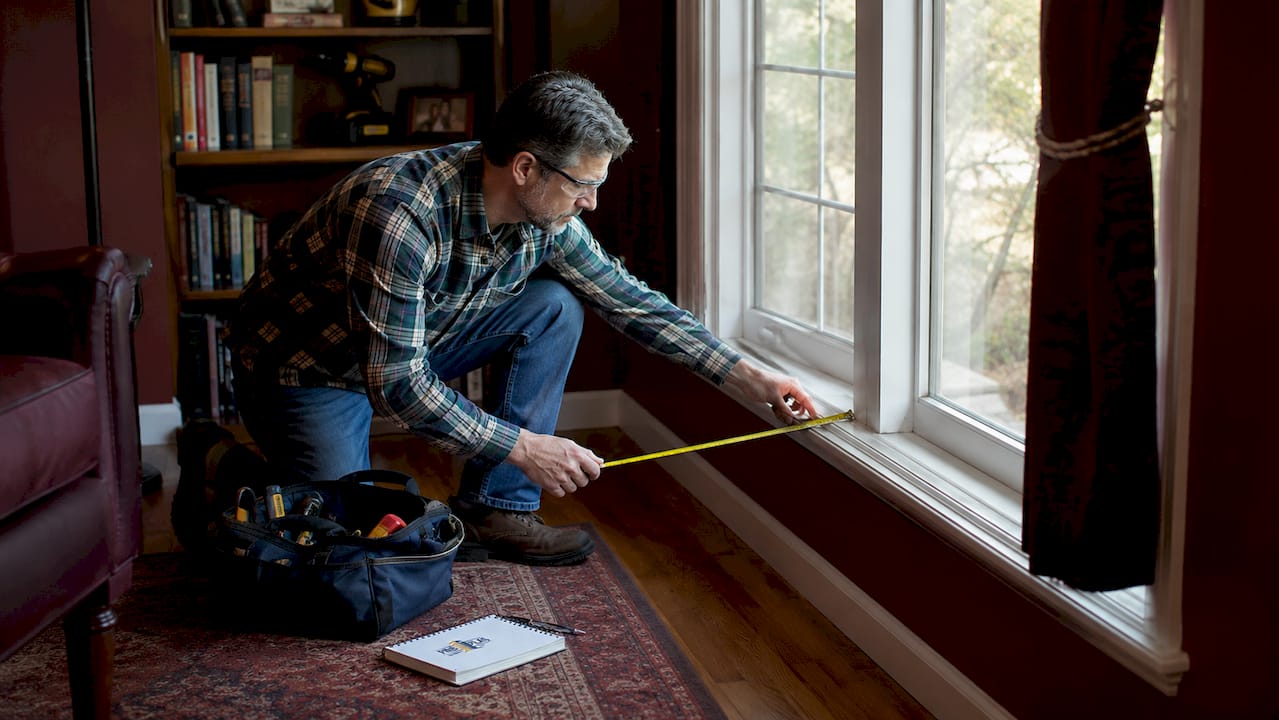
Accurate measurement is the foundation of every successful bay window project. Skipping this step is the single most common reason treatments arrive ill-fitting or furniture sits crooked.
Essential tools
Gather these before you take a single measurement:
- Tape measure (metal, at least 16 feet)
- Digital angle finder or protractor
- Spirit level
- Pencil and graph paper or a notepad
- Stud finder (for outside-mount hardware)
How to measure each section
Treat your bay window as a collection of distinct sections, not one large opening. Side windows typically sit at 30, 45, or 135 degrees relative to the centre panel. That angle difference matters enormously when you order shutters, shades, or build a bench seat.
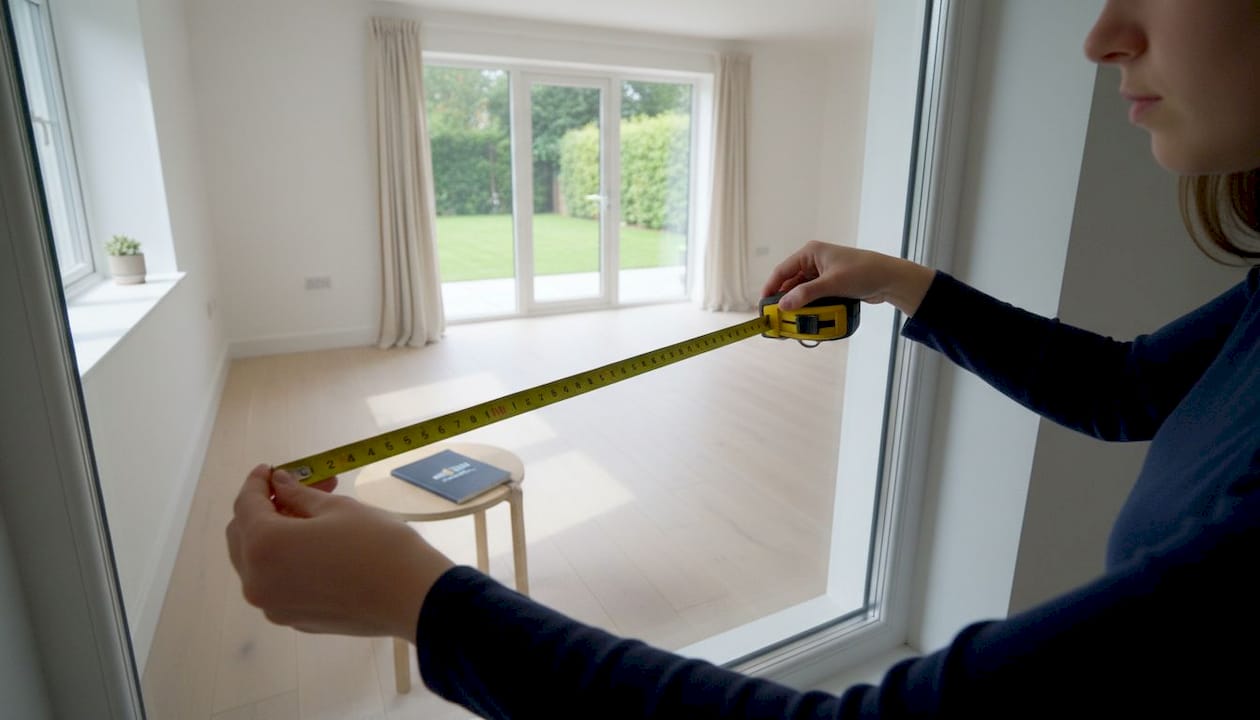
Measure width, height, and depth for each individual panel. Record to the nearest eighth of an inch. Check the floor level beneath the bay, because slopes and height variations in older Canadian homes can make furniture unstable if you ignore them. Adjustable feet solve minor slope issues without rebuilding.
Inside mount vs. outside mount
| Mount type | Minimum frame depth | Best use | Visual effect |
|---|---|---|---|
| Inside mount | 2–3 inches | Clean, recessed look | Exposes frame, shows window size accurately |
| Outside mount | No depth required | Shallow frames or larger appearance | Covers frame, makes window appear bigger |
Inside mounting requires at least 2–3 inches of frame depth. Outside mounting works when depth is insufficient or when you want the window to read as larger from inside the room.
Pro Tip: Measure each panel at three points: top, middle, and bottom. Use the smallest measurement for inside mounts to avoid treatments that bind.
How do you design custom window treatments for a bay window?
The three main approaches to bay window treatments are treating the bay as one continuous unit, treating each panel individually, or layering both methods. Each has real trade-offs.
Treating the bay as one unit
A flexible curtain track or custom-bent rod that follows the bay’s angles creates visual continuity and works well for drapery. Mount the rod 4–6 inches above the frame and extend it 6–12 inches beyond the outer edges. This gives the fabric room to stack without blocking light when open.
Treating each panel individually
Individual treatments give you precise light control per section. This approach suits shutters, Roman shades, cellular shades, and roller shades. Measuring each panel independently to the nearest eighth of an inch is non-negotiable here. Gaps at angled corners should be consistent at half an inch to one inch for a tidy finish.
Layered treatments
Layered treatments combining individual shades and decorative panels offer both function and design without complicating the hardware. A cellular shade on each panel for insulation, paired with a single drapery panel on a bent rod for softness, is a practical combination for Canadian winters.
Treatment options at a glance
- Plantation shutters: Durable, excellent light control, require precise angle measurement per panel
- Roman shades: Elegant, work well on flat centre panels, less suited to very narrow side panels
- Cellular shades: Strong insulating value, ideal for energy-conscious homeowners
- Roller shades: Clean and minimal, easy to motorise for hard-to-reach side panels
- Custom drapery: Warmest aesthetic, requires bent or flexible rod hardware
Motorised or cordless treatments improve operation on side panels that are awkward to reach. Motorisation systems allow treatments to operate together or independently, which is useful when panels face different light exposures.
Pro Tip: Match your treatment choice to what sits below the window. A radiator needs clearance; a bench seat benefits from longer drapery that frames it. Plan the treatment and the furniture together.
How do you build custom furniture for a bay window nook?
Custom bay window furniture, most often a bench seat with storage, requires the same measurement discipline as window treatments. The geometry is more forgiving than cabinetry, but only if you plan carefully.
Measuring for furniture
Start by mapping the full floor geometry of the bay. Record every angle, every sill height, and every wall return. Ergonomic standards for bay window seating call for a seat height of 17–19 inches, at least 24 inches of knee space depth, and a furniture depth of 18–24 inches. Staying within these ranges keeps the seat comfortable without blocking light from the lower glass.
Allow 12–18 inches of clearance between the front of the furniture and the glass for cleaning access. Bay window protrusions typically range from 18–24 inches in depth, so furniture that fills the full depth often eliminates that clearance.
Modular and angled design
Build the bench in modular sections that match each bay panel angle. This makes transport, fitting, and future removal far easier than building one rigid unit. Use cardboard at a 1:1 scale to create full-size templates before cutting any wood. Templates catch fitting errors before expensive material is wasted.
Wood selection and joinery
Choose a stable hardwood such as maple or oak for structural components. Wood movement from moisture changes can reach up to one-eighth of an inch on a 36-inch span in a sun-exposed bay. Quartersawn cuts reduce this movement. Acclimate your lumber in the room for at least one week before cutting.
Mortise-and-tenon joinery with wedged tenons resists the lateral stresses that angled bay walls place on furniture joints. It outperforms pocket screws and dowels for long-term stability.
Construction steps
- Measure and record all angles, heights, and depths
- Build 1:1 cardboard templates for each section
- Select and acclimate lumber for at least seven days
- Cut components using templates and a mitre saw set to panel angles
- Cut mortise-and-tenon joints for all structural connections
- Dry-fit all sections in the bay before applying glue
- Glue, assemble, and clamp; check for square and level
- Add upholstery foam and fabric to the seat lid
- Install adjustable feet to compensate for floor slope
- Finish with paint or stain suited to a high-UV environment
Pro Tip: Build a shop-made jig from scrap wood set to your specific bay angle. Run every angled cut through the jig for consistent results across all sections.
What are common installation mistakes and how do you avoid them?
Most bay window customisation problems are predictable. Professional measurement is required for precise installation and functional treatment operation. Skipping it costs more in remakes than the measurement service itself.
The most frequent errors
- Ordering treatments before taking final measurements
- Treating the entire bay as a single flat window
- Choosing inside mount without confirming frame depth
- Ignoring panel angles when ordering shutters or shades
- Building furniture without accounting for floor slope
- Forgetting clearance space for cleaning behind treatments
Troubleshooting tips
Check that each treatment panel operates independently before finalising the installation. Confirm that corner gaps between individual panels are consistent. Test the bench seat lid for smooth opening if it includes storage. Verify that all hardware anchors hit solid framing, not just drywall.
Before ordering any custom treatment or cutting any wood, take all measurements twice on different days. Temperature and humidity shifts in Canadian homes can cause minor dimensional changes in frames and floors, and catching a discrepancy early prevents costly remakes.
The choice between individual panel treatments and a continuous L-frame affects both maintenance and appearance. A continuous L-frame looks unified but requires precise custom fabrication. Individual panels are easier to replace if one section is damaged.
Review the signs of poor window installation before you begin, so you know what a quality result looks like and can catch problems early.
Key takeaways
Successful bay window customisation depends on treating each panel as an independent unit, measuring precisely, and matching treatments and furniture to the bay’s specific angles and dimensions.
| Point | Details |
|---|---|
| Measure each panel independently | Record width, height, depth, and angle for every section to the nearest eighth of an inch. |
| Choose mount type before ordering | Inside mount needs at least 2–3 inches of frame depth; outside mount suits shallow frames. |
| Build furniture to ergonomic standards | Target a seat height of 17–19 inches and at least 24 inches of knee space depth. |
| Use templates before cutting | 1:1 cardboard mockups catch fitting errors before expensive materials are cut. |
| Account for wood movement | Acclimate lumber for at least one week and use quartersawn cuts in sun-exposed bays. |
What we have learned after 25 years of custom window projects
After working with over 10,000 Canadian homeowners on custom window projects, the pattern is consistent: the homeowners who get the best results are the ones who slow down at the measurement stage and speed up at the installation stage, not the other way around.
The most common regret we hear is not about the treatment style or the wood species. It is about the measurements taken too quickly on a single day. Bay windows in Canadian homes shift slightly between seasons. A frame that measures perfectly in july may read differently in january after heating season contracts the surrounding structure. Taking measurements on two separate days, ideally in different weather conditions, adds almost no time to a project and prevents the most expensive mistakes.
On the design side, homeowners consistently underestimate how much the furniture and the treatment need to be planned together. A bench seat that fills the full bay depth leaves no room for a shade to stack or a shutter panel to swing open. Designing both at the same time, even on paper, resolves these conflicts before they become problems on installation day.
For DIY homeowners, the cardboard template method is the single best shortcut available. It costs almost nothing, takes an afternoon, and gives you a physical object you can hold in the bay to check fit before committing to wood. Professionals use this method too, and there is no reason to skip it at home.
Patience and a willingness to consult a professional for the measurement stage, even if you plan to build and install yourself, produces results that last decades rather than seasons.
— Proplas
How Proplas supports your bay window project from measurement to installation
Proplas has spent 25 years helping Canadian homeowners get custom windows right the first time. Whether you are replacing the glass units in an existing bay or starting a full bay window upgrade, the process works best when measurements and product specifications are handled by experienced professionals.

Proplas offers custom windows designed to fit unique bay window dimensions and Canadian climate conditions, with no hidden fees and installation often completed in as few as three days. Every project is backed by a lifetime warranty. If you are ready to move from planning to installation, contact Proplas for a consultation and get accurate measurements and a clear quote before you commit to anything.
FAQ
What is bay window customisation?
Bay window customisation is the process of designing and fitting tailored window treatments, hardware, and furniture to match a bay window’s angled, multi-panel structure. The goal is to maximise light control, comfort, and aesthetics within the bay’s specific geometry.
How do I measure a bay window for treatments?
Measure each panel independently for width, height, and depth, recording to the nearest eighth of an inch. Side panels typically sit at 30, 45, or 135 degrees relative to the centre, so angle measurement is equally important.
What seat height works best for a bay window bench?
The ergonomic standard for bay window seating is 17–19 inches seat height with at least 24 inches of knee space depth. Staying within this range keeps the seat comfortable and avoids blocking the lower glass.
Should I use inside or outside mount for bay window shades?
Use inside mount when your frame depth is at least 2–3 inches and you want a recessed look. Choose outside mount when the frame is shallower or when you want the window to appear larger.
Can I install bay window treatments myself?
Yes, but professional measurement is strongly recommended before ordering any custom treatments. Errors in angle or depth measurement are the leading cause of treatments that arrive ill-fitting or inoperable.