
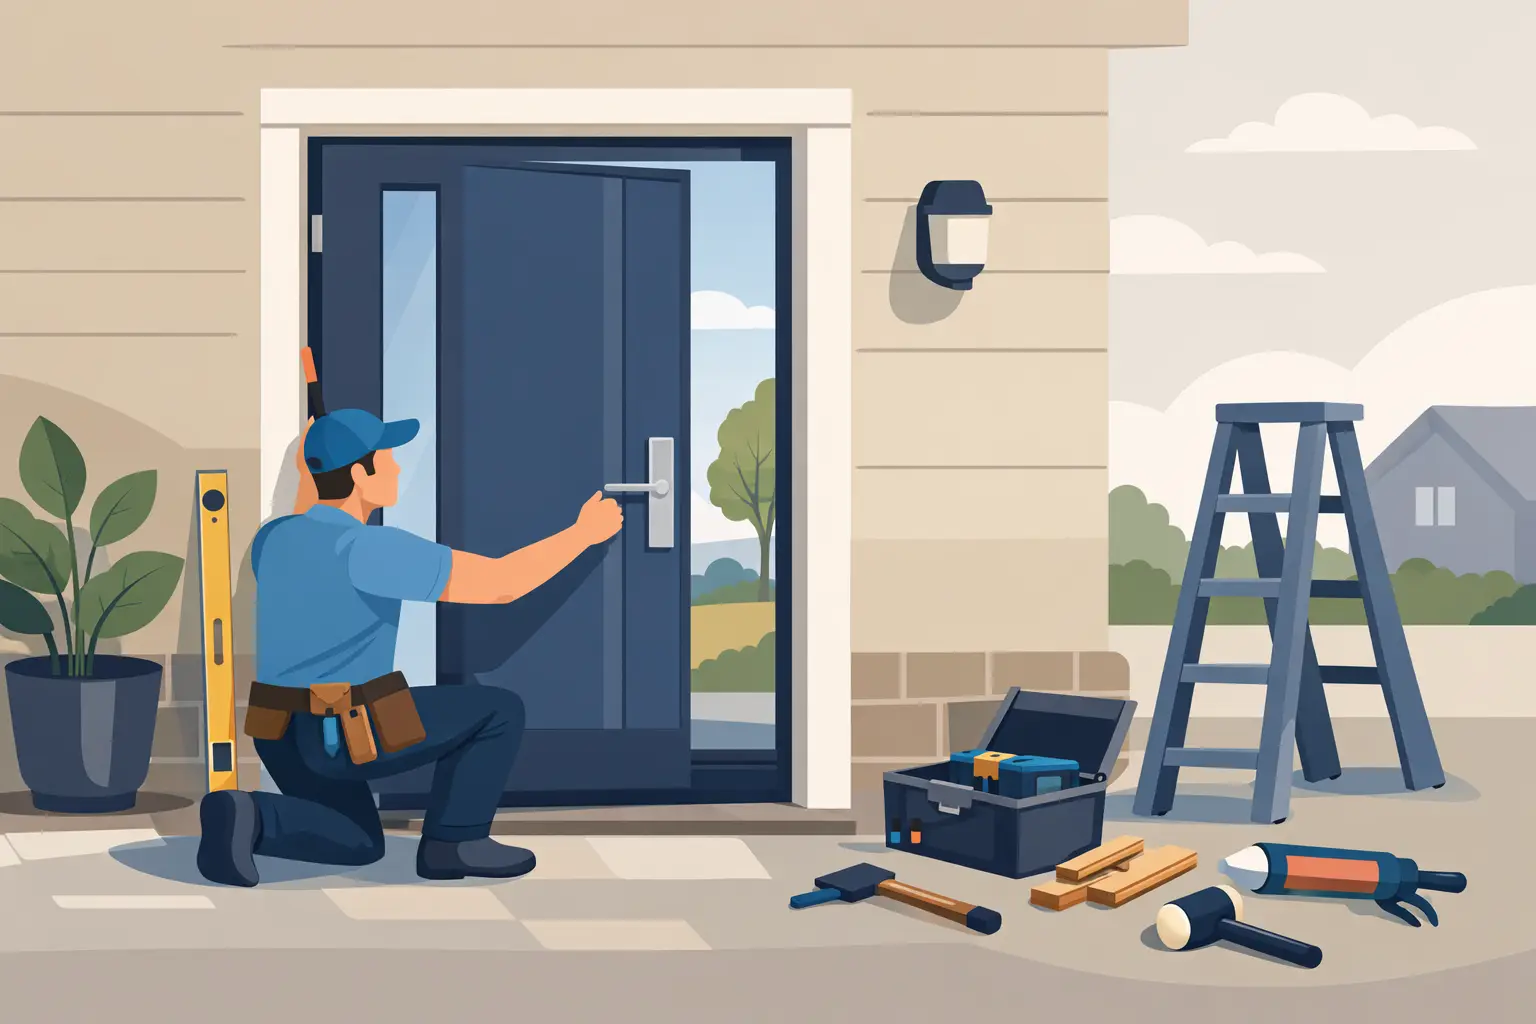
A new exterior door can look perfect in a showroom and still disappoint at home if it is measured, fitted, or sealed poorly. This exterior door installation guide explains what a proper replacement involves, what homeowners should expect from a professional installer, and which details protect comfort, security, and energy performance over the long term.
For homes in Toronto, the GTA, Simcoe Region, and Southern Ontario, an entry door has to handle more than daily use. It faces freeze-thaw cycles, wind-driven rain, humidity, snow, and sharp temperature changes. The installation is what determines whether the door remains quiet, secure, and easy to operate through those conditions.
Start With the Right Door and the Right Opening
Exterior door installation begins before the old door is removed. A qualified installer measures the opening carefully, including width, height, wall depth, threshold condition, and the squareness of the existing frame. Older homes often have openings that are not perfectly level or plumb. Assuming every opening is standard is one of the fastest ways to create gaps, binding, or an uneven reveal around the door.
The door itself must also suit the home and the opening. Steel doors are a practical choice for homeowners who prioritize security, value, and low maintenance. Fiberglass doors can provide a more detailed wood-grain appearance while standing up well to weather and moisture. Patio doors require another level of planning because the threshold, drainage, glass configuration, and operating panels all affect performance.
Customization matters here. Glass inserts, sidelites, transoms, hardware finishes, paint color, and panel designs should complement the home, but the configuration also needs to preserve privacy, insulation, and security. A large decorative glass insert may bring in more daylight, for example, but it can change the door’s thermal performance and sightlines.
What a Professional Exterior Door Installation Looks Like
A reliable installation follows a clear sequence. The crew should protect nearby flooring and finishes, remove the existing slab and frame with care, inspect the rough opening, and address visible concerns before placing the new unit. Installing over damaged wood, an unstable sill, or deteriorated framing can hide a problem temporarily, not solve it.
Inspecting and preparing the opening
Once the old unit is out, the installer checks the sill and surrounding framing for water damage, rot, or movement. This step is especially important where an old threshold has allowed water into the wall or floor structure. Minor adjustments may be part of a normal replacement. Significant repairs should be explained clearly, with the homeowner told what is needed and why before additional work proceeds.
The rough opening is then cleaned and prepared for the new frame. Proper sill support and flashing help direct incidental water outward instead of allowing it to collect beneath the threshold. Caulking alone is not a long-term water-management plan. The installation needs a drainage strategy that works with the exterior cladding and the opening’s design.
Setting the frame square and secure
The frame is positioned so it is level, plumb, and square. These are not interchangeable checks. A level threshold helps the door sit and operate correctly, plumb side jambs keep the slab from swinging or drifting, and a square frame creates even gaps around the perimeter.
Shims are placed at structural points, particularly near hinges and strike locations, so fastening does not twist the frame. The installer then secures the unit to the framing according to the door manufacturer’s requirements. Fasteners should provide real support, not simply pull the jamb toward an uneven wall.
This is where workmanship becomes visible in daily use. A door that closes only when pushed hard, catches on the threshold, or has an uneven gap around the edges was not adjusted correctly. A properly set door should operate smoothly and latch without force.
Sealing without restricting movement
After the frame is secured and tested, the gaps between the frame and rough opening are insulated. Low-expansion foam intended for windows and doors is typically used because excessive expansion can bow the jamb and affect operation. Insulation should fill voids without distorting the frame.
Exterior-grade sealant is applied where required to keep out wind and water. Interior trim and exterior casing are then finished neatly to cover the installation gap and complete the appearance. The goal is not simply to make the edges look finished. It is to create a continuous barrier against drafts and moisture while allowing the door system to perform as designed.
The Details That Affect Comfort and Energy Bills
A new door can reduce drafts, but only when its components work together. The door slab, insulated frame, weatherstripping, sweep, threshold, glass package, and installation seal all contribute to the result. Weakness in one area can reduce the benefit of the others.
Weatherstripping should compress evenly when the door closes. If it is too loose, air can pass through. If it is overly compressed, the door may be difficult to latch and the seal can wear prematurely. The sweep at the bottom of the door should contact the threshold consistently without dragging.
For glazed doors and patio doors, insulated glass and low-emissivity coatings can improve comfort near the opening. Energy Star-compliant products are often a sensible starting point for homeowners comparing options, but the rating should not be treated as a substitute for correct installation. Even a high-performing door can lose its advantage when air leaks around the frame.
Final Checks Before the Crew Leaves
A professional installation should end with an inspection, not a rushed cleanup. Open and close the door several times. Lock and unlock it. Check that the deadbolt lines up without lifting or pulling the handle. Look at the spacing around the door slab and confirm that the threshold feels stable underfoot.
From inside, inspect the trim and caulking for clean, complete finishing. From outside, check that exterior sealant is continuous where needed and that the door sits properly against the home’s siding, brick, or other cladding. If the door includes glass, make sure it is clean and free from installation damage.
Homeowners should also receive clear information about warranty coverage, recommended care, and who to contact if an adjustment is required. Doors can need a minor seasonal adjustment after installation, particularly in homes with changing humidity levels or settling concerns. What matters is having an installer who stands behind the work and responds when service is needed.
Common Problems and How to Avoid Them
The most frustrating door issues usually come from shortcuts, not from the door itself. Poor measurements can lead to unnecessary filler pieces or awkward trim. Inadequate support beneath the threshold can cause movement and water entry. Overfilling the perimeter with expanding foam can bow the frame. Skipping a full operation check can leave the homeowner with a door that technically closes but never feels right.
Price should be evaluated in that context. A low quote that excludes removal, disposal, finishing, sill repairs, hardware, or warranty support may not reflect the actual cost of a complete replacement. Ask what is included, what may create additional charges, how long the work will take, and how installation concerns are handled after completion.
A turnkey provider such as ProPlas can simplify the process by coordinating measurement, product selection, customization, installation, and follow-up under one accountable team. That is often a better fit for homeowners who want the project managed carefully rather than piecing together products and labor from separate sources.
The best time to ask detailed questions is before the order is placed. A dependable installer will explain the condition of your opening, the door options that suit your home, and the installation plan in plain language. That clarity is what turns a replacement door from a cosmetic upgrade into lasting protection for the home.