
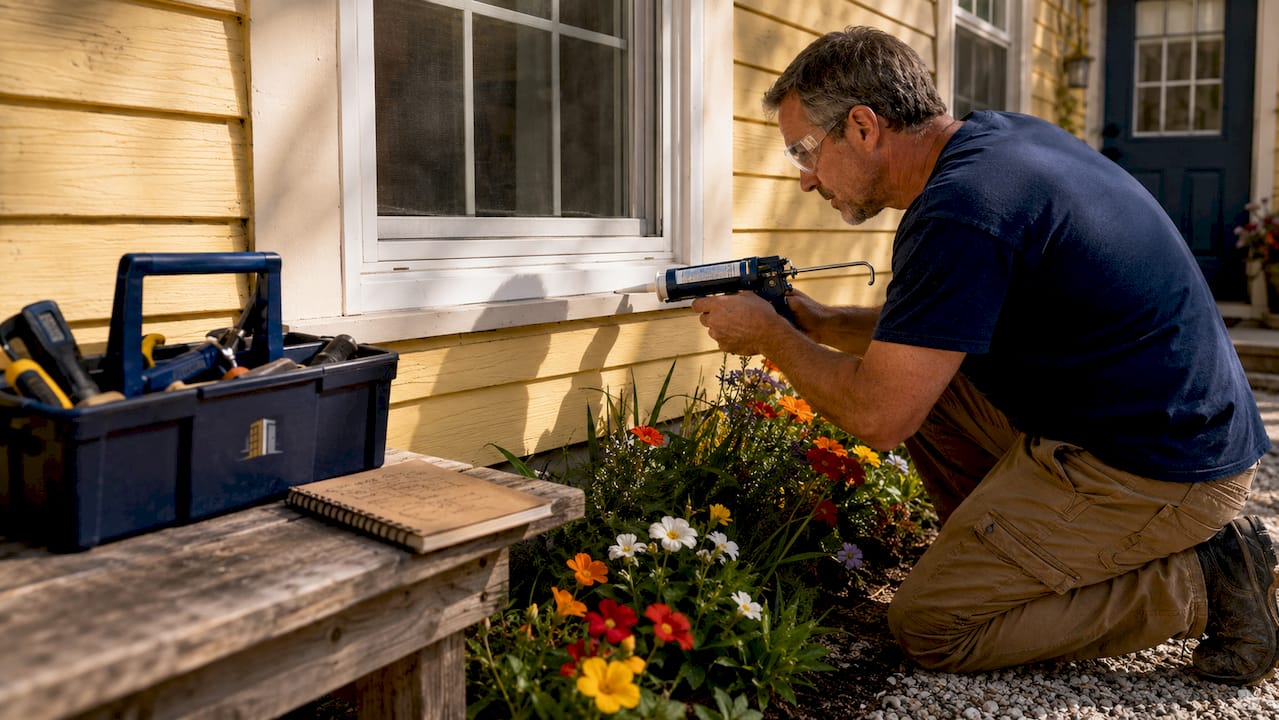
Window caulking is defined as the process of applying a flexible, waterproof sealant around window frames to block air leaks, water infiltration, and pest entry. A gap as small as 1/16 inch around a window frame can cause up to 25% of your home’s heat loss. That single statistic makes window caulking explained one of the most practical topics any homeowner can study. A full re-caulking job typically costs between $20 and $40 in materials and takes a weekend afternoon to complete, making it one of the highest-return maintenance tasks you can do yourself.
What type of caulk is best for different window areas?
Choosing the right caulk is the single most important decision in any window sealing project. The wrong material fails within a season. The right one lasts a decade.
Silicone caulk
Silicone caulk is the top choice for exterior window seams. It bonds to glass, metal, and vinyl without cracking under UV exposure or temperature swings. Silicone does not accept paint, so use it only where the colour of the bead does not matter, such as along the exterior frame-to-brick joint. It remains flexible through Canadian winters, which is critical when frames expand and contract with the cold.
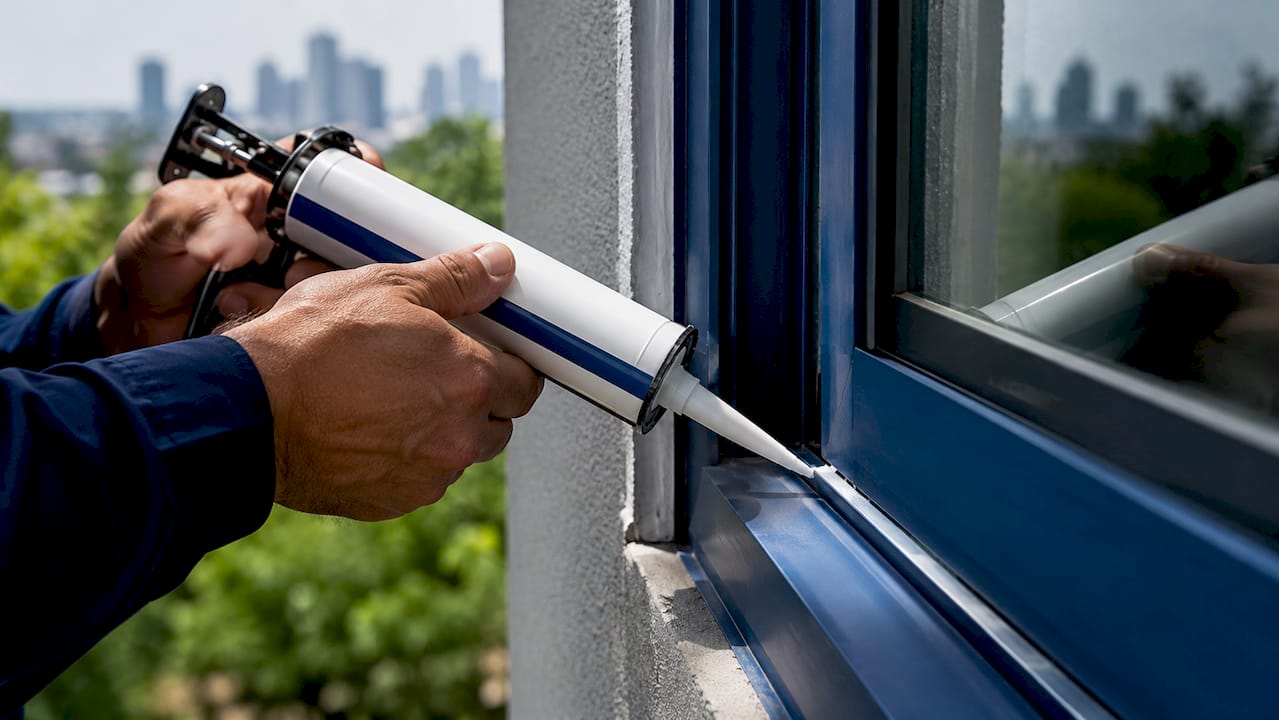
Polyurethane caulk
Polyurethane caulk offers superior adhesion on rough or porous surfaces like wood and masonry. It is paintable once cured, which makes it a strong choice for exterior wood-frame windows where you want a finished look. Polyurethane is slightly less flexible than silicone over time, so it works best in areas with moderate movement.
Acrylic latex caulk
Acrylic latex caulk is the standard choice for interior window trim. It is easy to apply, cleans up with water, and accepts paint readily. It does not hold up to direct moisture or outdoor exposure, so keep it indoors. For interior corners where the window casing meets the wall, acrylic latex delivers a clean, paintable finish that blends with your trim.
Pro Tip: In climates with harsh winters, like most of Canada, choose a siliconised acrylic latex for interior use. It combines the paintability of acrylic with added moisture resistance from silicone, giving you the best of both materials.
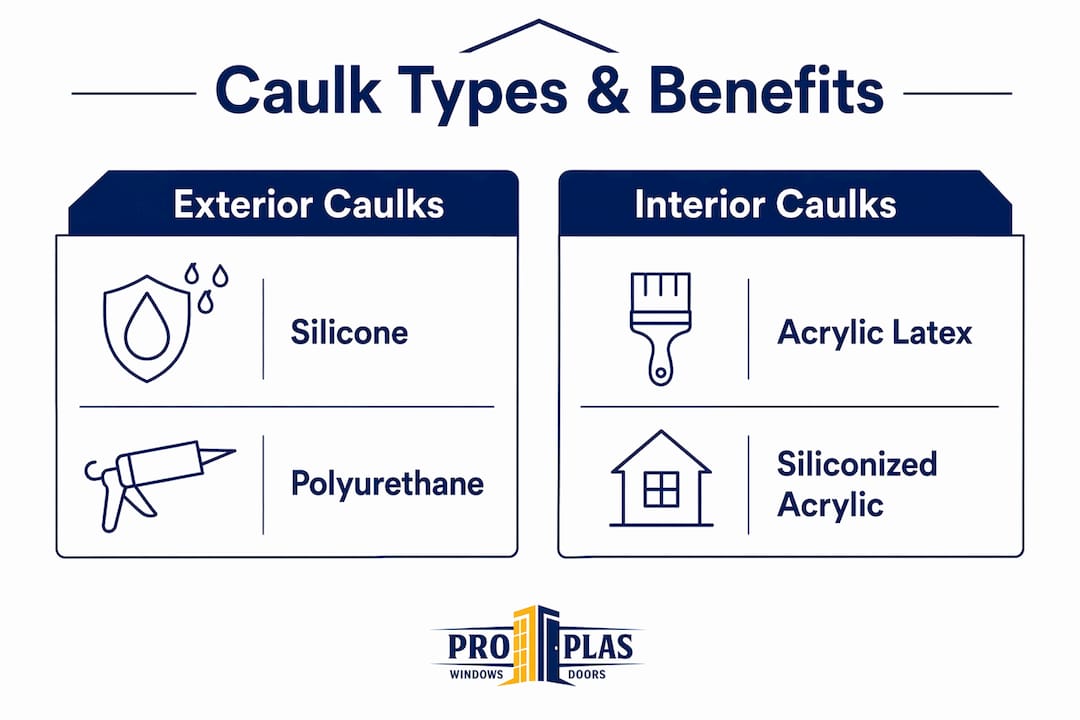
Here is a quick reference for caulk selection:
| Location | Recommended caulk type | Key benefit |
|---|---|---|
| Exterior frame to brick or siding | Silicone | UV resistance, flexibility |
| Exterior wood frame | Polyurethane | Paintable, strong adhesion |
| Interior window trim | Acrylic latex | Easy cleanup, paintable |
| Interior corners near moisture | Siliconised acrylic latex | Moisture resistance, paintable |
Climate matters when selecting caulk. A product rated for temperatures down to -29°C is worth the extra cost in Ontario or Alberta. Check the product label for its temperature range before purchasing.
How to caulk windows step by step
Proper preparation accounts for most of the difference between a seal that lasts two years and one that lasts ten. Skipping steps here is where most homeowners lose time and money.
-
Remove all old caulk. Use a plastic scraper or a dedicated caulk removal tool to strip every trace of the old sealant. Failing to remove old caulk before applying new results in poor adhesion and early seal failure. Do not caulk over degraded material.
-
Clean the surface. Wipe the joint with a damp cloth to remove dust, grease, and mould. Let it dry completely before moving on. Any moisture trapped under the new sealant will cause it to fail.
-
Apply painter’s tape. Run tape along both sides of the joint, leaving only the gap exposed. This controls the bead width and gives you a clean, straight edge. It also protects your window frame from smearing.
-
Cut the nozzle at a 45-degree angle. Cut the tip of the caulk tube to match the width of your gap. A smaller opening gives you more control. Cutting at 45 degrees lets you press the bead firmly into the joint as you move.
-
Run a steady bead. Hold the gun at a consistent angle and move at an even pace. Apply light, steady pressure on the trigger. Do not stop and start repeatedly, as this creates uneven coverage.
-
Smooth in short sections. Smooth the bead in 6-inch sections at a time using a wet fingertip or a caulk tool. Working in short sections prevents the caulk from skinning over before you can shape it.
-
Remove the tape immediately. Pull the painter’s tape off while the caulk is still wet to avoid tearing the fresh bead. Pull at a low angle, away from the joint.
-
Allow proper curing time. Caulking requires temperatures above 45°F (7.2°C) and low humidity to cure correctly. Avoid applying caulk on rainy days or when frost is expected overnight. Silicone typically cures in 24 hours; polyurethane may take 48–72 hours.
Pro Tip: Seal both the interior and exterior sides of the window frame. Double-sided caulking provides effective coverage against air, water, and insects from both directions.
When is caulking the right fix, and when is it not?
Caulking solves a specific problem: gaps in stationary joints. It does not fix every window issue, and applying it in the wrong place can cause new problems.
Caulk is the right solution when you see:
- Visible cracks or gaps between the window frame and the wall or siding
- Brittle, shrunken, or missing sealant along the exterior perimeter
- Draughts coming from the frame area on a windy day
- Water staining on the interior wall directly below the window frame
Caulk is not the right solution when you see:
- Condensation or fogging between the glass panes. This signals a failed Insulated Glass Unit (IGU). Caulking cannot resolve internal window fogging; the sealed unit needs replacement.
- Draughts coming from around the moving sash. Caulk is meant for fixed seams only. Moving sashes require weatherstripping, not caulk. Applying caulk to an operable sash will lock it shut or cause the sealant to tear immediately.
- Visible gaps between the frame and the rough opening that are larger than the trim can cover. This points to a poor window installation that needs professional assessment.
- Rot or structural damage in a wood frame. Caulk over rotted wood will not hold. The damaged material needs repair or replacement first.
Understanding the difference between caulking and weatherstripping prevents misapplication and saves you from redoing the job in a few months.
Common mistakes and expert tips for lasting results
Most caulking failures trace back to a handful of avoidable errors. Knowing them in advance puts you ahead of the majority of DIY attempts.
-
Caulking over old sealant. This is the most common mistake. New caulk does not bond reliably to old, degraded material. Always remove the old sealant completely before applying fresh product.
-
Ignoring gap width. Gaps wider than 1/4 inch need foam backer rod inserted first. Backer rod fills the void, gives the caulk a proper bonding surface, and prevents the sealant from splitting as it cures.
-
Getting the bead dimensions wrong. The bead width should be roughly twice its depth to maintain flexibility and prevent cracking. A bead that is too deep relative to its width will crack as the joint moves.
-
Applying caulk in cold or wet conditions. Moisture and cold prevent proper adhesion and curing. Check the forecast and wait for a dry day above 7°C before starting.
-
Caulking moving parts. Never apply caulk to the sash channel or any part of the window that opens. This restricts operation and causes the sealant to fail within weeks.
-
Rushing the smoothing step. Smoothing the bead quickly in long strokes leaves gaps and ridges. Work in short sections and keep your tool or fingertip slightly damp for a clean result.
Pro Tip: Do a full inspection of your window caulking every autumn before temperatures drop. Catching small cracks early means a 10-minute repair instead of a full re-caulking job. A window energy audit can also reveal heat loss points you might miss visually.
Key takeaways
Proper window caulking requires the right sealant for each location, complete removal of old material, and correct application technique to deliver lasting protection against air loss, moisture, and pests.
| Point | Details |
|---|---|
| Match caulk to location | Use silicone outside, acrylic latex inside, and polyurethane on exterior wood frames. |
| Remove old caulk fully | Applying new caulk over degraded sealant causes early bond failure. |
| Use backer rod for large gaps | Gaps wider than 1/4 inch need foam backer rod before caulking to prevent splitting. |
| Caulk only fixed joints | Moving sashes need weatherstripping, not caulk, to maintain function. |
| Check weather before applying | Temperatures above 7°C and dry conditions are required for proper curing. |
What 25 years of window work has taught us about caulking
Most homeowners treat caulking as a cosmetic touch-up. We see it differently. At Proplas, after 25 years and over 10,000 window installations, we have watched well-caulked windows outlast poorly sealed ones by years. A $5 tube of silicone applied correctly can protect a $1,500 window investment from water damage that voids a warranty.
The most common misunderstanding we encounter is the belief that caulk and weatherstripping are interchangeable. They are not. Caulk seals the frame to the wall. Weatherstripping seals the sash to the frame. Confusing the two leads to locked windows, torn seals, and frustrated homeowners calling us for repairs that should never have been necessary.
We also see homeowners skip the autumn inspection because the windows “look fine.” Caulk degrades from the inside out. By the time you see a crack, air has been leaking for months. A quick walk around your home with a flashlight in october takes 20 minutes and can save you a meaningful amount on your heating bill.
Caulking is a manageable DIY project when you prepare properly. The right materials, clean surfaces, and patience during the smoothing step produce results that look professional and hold for years. If you are unsure whether your windows need caulking or something more, a proper assessment will tell you exactly where you stand.
— Proplas
Proplas windows: built to seal, built to last

Good caulking extends the life of any window, but the best results come when the window itself is built for Canadian conditions. Proplas supplies and installs Energy Star certified windows across Toronto and the GTA, with every unit fitted and sealed by experienced installers. Our casement windows and double hung windows are designed for tight, lasting seals from day one. With no hidden fees, installation often completed in as little as three days, and a lifetime warranty on our work, Proplas gives you confidence that your windows will perform season after season. Contact us for a consultation and find out which window solution fits your home.
FAQ
What is window caulking used for?
Window caulking seals the fixed joints between a window frame and the surrounding wall to block air leaks, water infiltration, and pest entry. It does not seal moving parts like sashes or vents.
How often should you re-caulk windows?
Most window caulk lasts 5–10 years depending on the material and climate. Inspect your caulking every autumn and replace any sections that show cracking, shrinkage, or gaps.
What is the best caulk for exterior windows in Canada?
Silicone caulk is the best choice for exterior window seams in Canada. It remains flexible through freeze-thaw cycles, resists UV exposure, and bonds reliably to glass, vinyl, and metal.
Can you caulk over old window caulk?
No. Applying new caulk over old, degraded sealant prevents a proper bond and leads to early failure. Remove all existing caulk completely before applying a fresh bead.
What is the difference between caulking and weatherstripping?
Caulking seals stationary joints between the window frame and the wall. Weatherstripping seals the gap between a moving sash and the frame. Using caulk on a moving sash will restrict operation and cause the seal to tear quickly.