
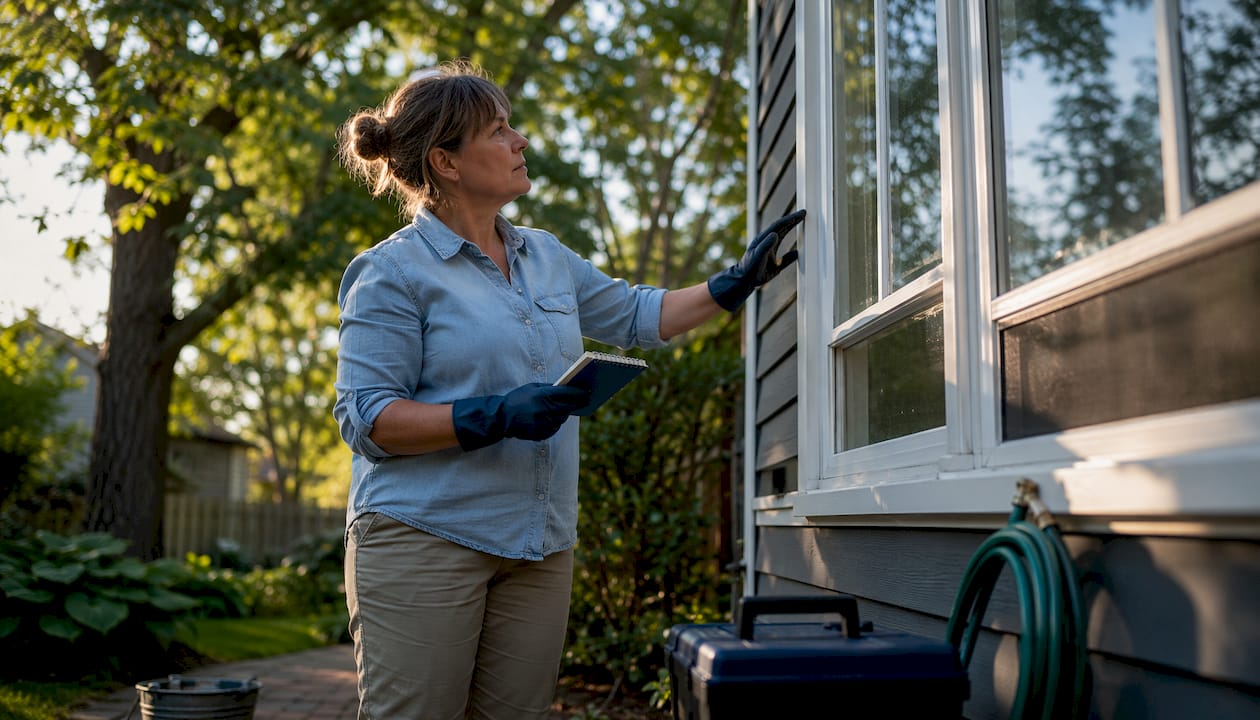
To keep your window warranty valid, follow the manufacturer’s care schedule, use only approved cleaners and lubricants, avoid unauthorised alterations, document every maintenance action, and preserve the warranty label on your frame.
Here is what to do right now:
- Clean frames and glass with mild, non-abrasive soap and water; rinse thoroughly and wipe dry
- Lubricate moving parts with a dry silicone spray on tracks, hinges, and hardware
- Inspect seals, gaskets, and caulking for cracks, gaps, or signs of moisture intrusion
- Clear weep holes to confirm drainage is unobstructed
- Photograph your windows and store the images with your purchase receipts and warranty paperwork
- Leave the warranty label on the frame — it carries the serial number and manufacture date needed for any future claim
The bottom line: a missed cleaning or an unapproved product can give a manufacturer legal grounds to deny your claim, but a simple dated log and a few photos are usually enough to protect full coverage.
Table of Contents
- What do window warranties actually cover?
- What actions commonly void your window warranty?
- What does a proper maintenance schedule look like?
- Which cleaners and lubricants are safe to use?
- How does installation quality affect your warranty?
- How do you file a warranty claim as a Canadian homeowner?
- Can you transfer your window warranty when you sell your home?
- How Proplas helps you protect your warranty
- Canadian resources for window warranty and maintenance guidance
- Key takeaways
- Maintenance records matter more than most homeowners realise
- Warranty-friendly window installation and service in Toronto and Southern Ontario
- Useful sources and manufacturer resources
What do window warranties actually cover?
Most window warranties are split across three or four components, each with its own coverage period. Understanding the split matters because a claim on the glass unit is handled differently from a claim on the hardware.
Glass and insulating unit seals typically receive the longest coverage, often a lifetime or non-prorated period for seal failure and, in some cases, glass breakage. Frames and sashes are usually covered for manufacturing defects in materials and finish. Hardware — handles, locks, hinges, and operators — tends to carry a shorter, sometimes pro-rated period. Labour and workmanship from the installer is a separate warranty, often one to ten years depending on the contractor.
A lifetime limited warranty covers manufacturing defects in materials and workmanship for as long as the original purchaser owns the home. “Lifetime” refers to the product’s useful life as defined by the manufacturer, not an unconditional guarantee — exclusions for corrosive environments, improper maintenance, and unauthorised alterations apply. Always read the printed warranty document for the exact scope.
Common warranty types you will see in Canada include limited lifetime, fully transferable lifetime, pro-rated (coverage decreases over time), and component-specific (separate terms for glass, frame, and hardware). For a full breakdown of coverage types, the window warranty coverage guide for Canadian homeowners is a useful reference.
What actions commonly void your window warranty?
Manufacturers treat maintenance as a contractual condition of coverage, not optional advice. Several specific actions and conditions give them grounds to deny a claim outright.
Common voiding actions:
- Using acidic or abrasive cleaning agents on frames or glass — manufacturer care guides list these as prohibited and recommend mild soap and water instead
- Applying aftermarket window films, tints, or surface coatings not approved by the manufacturer — these are treated as unauthorised alterations that can nullify coverage
- Repainting or refinishing factory-finished vinyl or aluminium frames without manufacturer approval
- Blocking or neglecting weep holes, allowing water to accumulate and damage adjacent building materials or the frame itself
- Using pressure washers, razor blades, or sharp metal tools on glass or vinyl surfaces, all of which are explicitly prohibited in manufacturer care guides
- Installing replacement weatherstripping that does not match the manufacturer-specified material and profile — an off-the-shelf substitute can be cited as a homeowner modification during a claim
- Improper field modifications during or after installation, including field mulling of window units not designed for it
Environmental exclusions are a separate category. Warranties often limit or exclude hardware coverage in highly corrosive or salt-air environments. If your property is near the ocean or a body of salt water, check your warranty document for specific coastal clauses — coverage for stainless steel hardware and certain finishes may be restricted regardless of how well you maintain the windows.
Pro Tip: Read the exclusions section of your warranty document before you buy any cleaning product or add-on. A five-minute review now is far cheaper than a denied claim later. The full list of warranty void conditions is worth bookmarking.
What does a proper maintenance schedule look like?
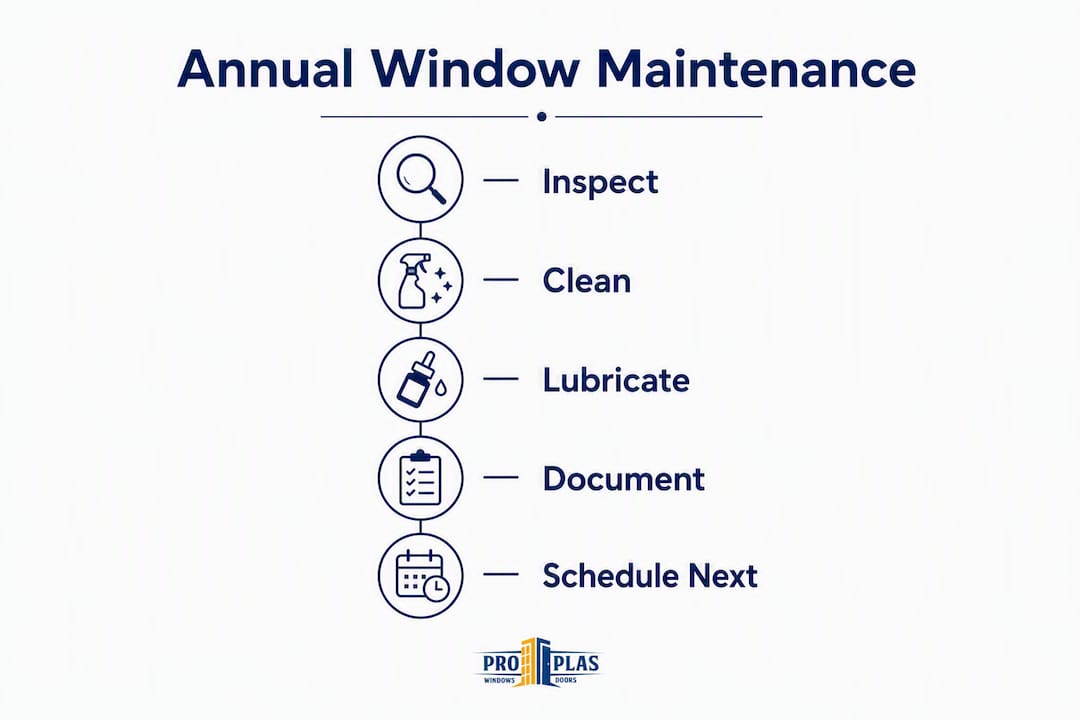
The minimum standard most manufacturers require is an annual inspection and cleaning cycle. Properties near the ocean may need more frequent maintenance due to environmental conditions — some manufacturer guides explicitly require this for coastal buildings.

Annual maintenance schedule at a glance
| Task | Frequency | Coastal exception |
|---|---|---|
| Clean frames and glass | Annually | More frequent cleaning may be required for coastal properties |
| Lubricate tracks and hardware | Annually | More frequent lubrication may be required for coastal properties |
| Inspect seals and gaskets | Annually | More frequent inspection may be required for coastal properties |
| Clear weep holes and drainage | Annually | More frequent clearing may be required for coastal properties |
| Check caulking and flashings | Annually | More frequent checks may be required for coastal properties |
| Photograph and log condition | Annually | More frequent documentation may be required for coastal properties |
Step-by-step annual inspection and cleaning
- Visual inspection first. Walk each window and look for cracks in the frame, fogging between glass panes (seal failure), damaged gaskets, gaps in caulking, and any signs of water staining on the sill or surrounding wall.
- Clear weep holes. Use a thin, soft tool (a cotton swab or soft brush) to clear any debris from the weep holes at the bottom of the frame. Pour a small amount of water into the track to confirm it drains freely.
- Clean frames. Rinse with plain water first, then wash with a mild detergent solution, rinse again, and wipe dry. Manufacturer care manuals advise doing this in cooler temperatures or shade to prevent streaking and residue.
- Clean glass. Use a standard glass cleaner or a mild ammonia-based product. Avoid abrasive pads. Rinse with plain water after cleaning.
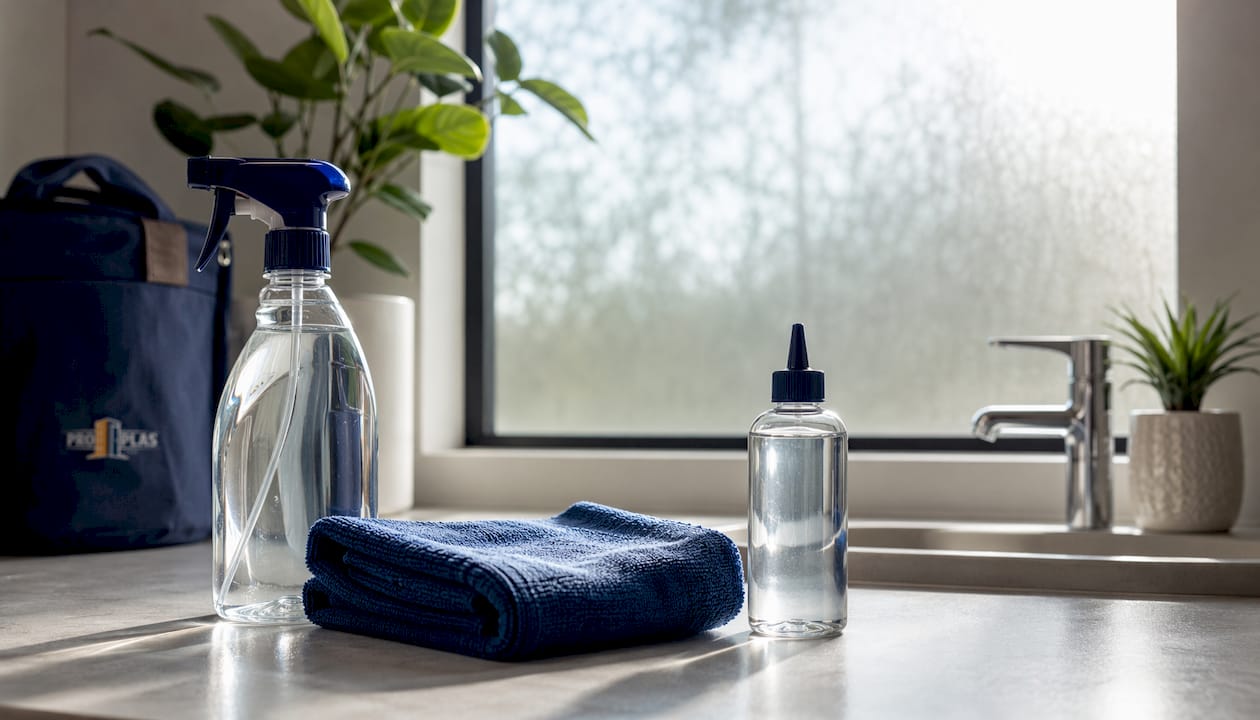
- Lubricate hardware. Apply a dry silicone spray to tracks, hinges, and moving hardware. Wipe away any excess. Never use heavy oil or petroleum-based lubricants.
- Inspect caulking and flashings. Press gently along caulk lines at the frame perimeter. Any section that feels soft, cracked, or separates from the surface needs re-caulking before the next wet season.
- Check handles, locks, and operators. Open and close each window fully. Handles and latches should operate smoothly without force. Stiff or grinding hardware is an early warning sign.
- Photograph and record. Take dated photos of each window, the weep holes, the caulk lines, and any hardware. Note the products used and the date in a simple log.
Pro Tip: A free spreadsheet or a notes app on your phone works perfectly as a maintenance log. Date each entry, note what you cleaned or lubricated, and attach a photo. That record is your proof of care if a claim is ever questioned.
Which cleaners and lubricants are safe to use?
Getting this right is straightforward once you know the short list of approved products and the equally short list of things to avoid entirely.
Approved cleaners:
- Mild, non-abrasive soap and water for vinyl frames and sashes
- Standard glass cleaner or ammonia-based cleaner for glass surfaces only
- A diluted vinegar solution for stubborn mineral deposits on glass, where the manufacturer’s guide permits it — check your specific warranty document first
- A small, stiff nylon brush for cleaning exposed tracks that collect dirt, leaves, or sand
Approved lubricants:
- Dry silicone spray for tracks, rollers, hinges, and moving hardware — manufacturer care guides specifically recommend silicone-based sprays because they do not leave an oily residue that attracts debris or degrades seals
- A light application only — excess lubricant collects grit and can cause more wear than no lubrication at all
Do not use:
- Abrasive pads, steel wool, or scouring powders on any surface
- Razor blades or sharp metal scrapers on glass or vinyl
- High-pressure washers — the force can damage seals, push water behind flashings, and void coverage
- Acidic or caustic solvents, paint removers, or industrial degreasers
- Heavy oils, WD-40, or petroleum-based lubricants on tracks or hardware
- Aftermarket window films, tints, or surface-altering treatments unless explicitly approved in writing by the manufacturer
For coastal properties, the same approved products apply, but the cleaning cycle needs to run more often. Salt residue on frames and hardware accelerates corrosion and seal degradation, and some manufacturers restrict coverage in high-salt environments if maintenance records cannot show the required frequency was met.
How does installation quality affect your warranty?
Improper installation is one of the most common reasons warranty claims are denied, and it is also one of the hardest problems to fix after the fact. A window that was not installed correctly from day one may show water intrusion, air leakage, or hardware failure within a few years, and the manufacturer will look at the installation record before approving any claim.
Professional, documented installation is not just a quality standard — it is a warranty requirement. Most manufacturer warranties state that the product must be installed according to their published installation instructions. A window installed by an uncertified contractor or without following those instructions may have its coverage voided before the homeowner ever makes a single claim.
Red flags to check after installation:
- Visible gaps between the frame and the rough opening, or between the frame and interior trim
- Missing or incorrectly applied flashing at the head and sill
- Sill conditions that do not allow drainage (water pooling in the track after rain)
- Missing or damaged warranty labels on the frame
- No written documentation of the installation date, installer name, or product serial numbers
Post-installation alterations to avoid:
- Field mulling of window units not designed or approved for that configuration
- Repainting factory-finished frames with exterior paint or coatings not approved by the manufacturer
- Adding window films, security bars, or external attachments without confirming with the manufacturer that coverage is preserved
- Any modification to the rough opening or surrounding structure that changes the load on the window frame
If you are unsure whether your current installation meets manufacturer standards, a professional inspection is the clearest way to find out. Proplas’s installation quality guide outlines what a properly documented installation should include.
How do you file a warranty claim as a Canadian homeowner?
A well-documented claim moves faster and is far less likely to be denied. The process is straightforward when you have kept records from the start.
Step-by-step claim process
- Inspect and photograph immediately. As soon as you notice a problem — fogged glass, a failed seal, a broken lock, water staining — take clear, dated photos of the affected area from multiple angles.
- Locate your warranty label. The label on the frame contains the serial number, manufacture date, and order reference that manufacturers use to verify claims. Without it, the process slows considerably.
- Gather your paperwork. Collect your original purchase receipt, the installer’s written warranty, any maintenance log entries, and receipts for cleaning products or professional service visits.
- Contact your installer first. For workmanship issues, the installer’s warranty is the first point of contact. For product defects, contact the manufacturer’s customer service line or submit a service ticket through their online portal. Some manufacturers offer online claim submission with photo upload and order number entry to speed up response.
- Submit in writing. Whether by email, online form, or registered mail, always submit your claim in writing and keep a copy of everything you send.
- Follow up within the manufacturer’s stated response window. Most manufacturers specify a response timeline in the warranty document. Note that date and follow up in writing if you do not hear back.
Document checklist for your claim file:
- Dated photos of the defect and the surrounding area
- Maintenance log entries showing the care schedule was followed
- Receipts for cleaning products, lubricants, or professional maintenance visits
- Original purchase receipt and installation contract
- Warranty label serial number (photographed or transcribed)
- All written correspondence with the installer and manufacturer
For a detailed walkthrough of the full process, the warranty claim process guide for Canadian homeowners covers each step with practical examples.
Can you transfer your window warranty when you sell your home?
Transferability varies significantly between manufacturers and even between warranty tiers from the same brand. Some lifetime warranties are fully transferable to a subsequent owner at no cost; others require a formal transfer request and a fee; and installer workmanship warranties are typically non-transferable.
A transferable warranty adds measurable value at resale. Buyers who receive documented warranty coverage and a maintenance log have proof the windows were cared for — and they inherit the remaining coverage period. Sellers who cannot produce that documentation often find buyers discount the value of the windows or request a price reduction to cover potential replacement costs.
Seller checklist before closing:
- Locate and preserve the original warranty label on each window frame
- Compile the full maintenance log with dated entries and receipts
- Review the manufacturer’s transfer instructions — some require written notification within a set number of days of the sale
- Provide the buyer with the original purchase receipt, installer warranty, and any manufacturer warranty documents
Buyer actions at closing:
- Request all warranty paperwork as a condition of the purchase agreement
- Confirm with the manufacturer that the warranty has been transferred to your name where required
- Continue the maintenance log from the date of possession to preserve coverage going forward
How Proplas helps you protect your warranty
Choosing a professional installer with documented processes is one of the most reliable ways to keep your warranty intact from day one. Proplas brings extensive experience and has completed many installations to every project, with a focus on the details that protect your coverage long after the job is done.
What Proplas provides that directly supports your warranty:
- Certified professional installation following manufacturer specifications, so coverage is never voided at the outset
- Written installation documentation including product serial numbers, installation date, and installer details — exactly what manufacturers require for claim verification
- Energy Star certified products that meet Canadian performance standards and qualify for applicable rebate programmes
- A lifetime warranty backed by Proplas on workmanship, giving you two layers of coverage: manufacturer and installer
- Transparent pricing with no hidden fees, so the full cost of a properly documented installation is clear before work begins
- Post-installation support to answer maintenance questions and help you set up a care schedule that keeps your warranty valid
When a maintenance issue falls outside what you can handle yourself — a failed seal, a drainage problem, or a coastal property requiring more frequent service — Proplas can assess the situation and provide documented service that supports any future claim. For homeowners in Toronto and Southern Ontario, that kind of professional record-keeping is the difference between a smooth claim and a denied one.
Canadian resources for window warranty and maintenance guidance
Several Canadian and North American bodies publish guidance that applies directly to window warranties and home maintenance standards in Canada.
Natural Resources Canada administers the Energy Star programme for Canada, setting performance thresholds for windows and doors. Products that carry the Energy Star label have met verified efficiency standards, which is relevant when a warranty claim involves thermal performance or seal failure.
Canada Mortgage and Housing Corporation (CMHC) publishes home maintenance guides that cover window inspection, moisture management, and seasonal upkeep. Their resources at cmhc-schl.gc.ca are free and written specifically for Canadian housing conditions, including the freeze-thaw cycles and humidity ranges that affect window seals and caulking in Ontario and across the country.
Manufacturer warranty and care pages are your primary reference. Every manufacturer that sells windows in Canada is required to provide warranty documentation with the product. The key documents to locate and save are:
- The printed or PDF warranty document (check for maintenance schedule clauses, coastal exclusions, and transfer instructions)
- The care and maintenance guide specific to your window series
- The warranty label on the frame (photograph it and store the image digitally)
When you receive your warranty documents, read the maintenance schedule clause before anything else. That clause defines what you are contractually required to do to keep coverage active. File the documents with your home purchase records and set a calendar reminder for your first annual service.
For ongoing reference, the window care guide for Canadian homeowners covers seasonal maintenance considerations specific to Canadian climates.
Key takeaways
Proper window care is a warranty condition, not optional upkeep — documented maintenance is the single most effective way to protect your coverage and support a successful claim.
| Point | Details |
|---|---|
| Follow the manufacturer’s care schedule | Annual cleaning and lubrication is the minimum; coastal properties within 1.5 km of the ocean are required to double the maintenance frequency according to manufacturer guides. |
| Use only approved products | Mild soap and water for frames, dry silicone spray for hardware; acidic cleaners and heavy oils void coverage. |
| Document every service visit | Dated photos, a maintenance log, and product receipts are the evidence manufacturers require to approve claims. |
| Preserve your warranty label | The serial number and manufacture date on the frame label are required for claim verification and warranty transfer. |
| Proplas provides certified installation | With extensive experience and a lifetime workmanship warranty, Proplas delivers the documented installation record that keeps your coverage intact. |
Maintenance records matter more than most homeowners realise
The most overlooked part of window ownership is not the cleaning itself — it is the paper trail. Manufacturers write maintenance clauses into warranty contracts precisely because they need a way to distinguish between a product defect and damage caused by neglect. When a claim comes in without any maintenance records, the manufacturer’s default position is often to attribute the failure to inadequate care. That is not a bad-faith move on their part; it is a contractual position they are entitled to take.
What this means practically is that a homeowner who cleans their windows every year but never writes it down is in almost the same position as one who never cleaned them at all, from a claims perspective. The cleaning happened, but there is no proof. A simple dated log entry and a photo taken on the same day as the service changes that entirely.
The other thing worth saying plainly: the maintenance requirements in most warranty documents are not difficult to meet. An annual cleaning with mild soap and water, a silicone spray on the tracks, and a quick inspection of the seals and caulking takes less than an hour per window. The documentation takes five minutes. The risk of skipping it is a denied claim on a product that may cost thousands of dollars to replace out of pocket.
Proplas recommends treating your first annual maintenance visit as a setup exercise: establish the log, photograph every window, and file everything with your warranty documents. After that, each subsequent visit is just an update to an existing record.
Warranty-friendly window installation and service in Toronto and Southern Ontario
Proplas delivers professional window installation in Toronto and Southern Ontario with the documentation your warranty depends on. Every installation includes written records of product serial numbers, installation date, and certified workmanship — the exact paperwork manufacturers require when a claim is filed.

Beyond installation, Proplas offers Energy Star certified products, a lifetime workmanship warranty, and transparent pricing with no hidden fees. Whether you are replacing windows in an older home, upgrading to energy-efficient units, or simply want a professional to set up a documented maintenance plan, Proplas has the experience and the process to protect your investment. With over 10,000 satisfied customers across the GTA, the track record speaks for itself.
Request a quote or book a maintenance consultation at proplas.ca and get the documentation your warranty requires.
Useful sources and manufacturer resources
When reviewing your warranty documents, prioritise these sections and resources.
What to look for in your warranty document:
- The maintenance schedule clause — this defines your obligations as a condition of coverage
- Coastal or corrosive environment exclusions — check whether your property type affects hardware coverage
- Transfer instructions — confirm whether a written notification or fee is required when you sell
- Excluded materials and treatments — verify any product or alteration before applying it
Key Canadian and manufacturer resources:
- Natural Resources Canada — Energy Star programme for windows and doors: natural-resources.canada.ca
- CMHC — Home maintenance and moisture management guides: cmhc-schl.gc.ca
- Your manufacturer’s care and maintenance PDF — download and save it alongside your warranty document; it contains the approved cleaning sequences, lubricant specifications, and inspection checklists that apply to your specific product
Save digital copies of every warranty document, care guide, and maintenance log in a dedicated folder — cloud storage works well. If you ever sell the home, that folder transfers to the buyer as proof of coverage and care history. A complete file at closing is one of the clearest signals of a well-maintained property.
For documentation guidance specific to Canadian homeowners, the window issue documentation guide walks through exactly what to collect and how to organise it before filing a claim.