
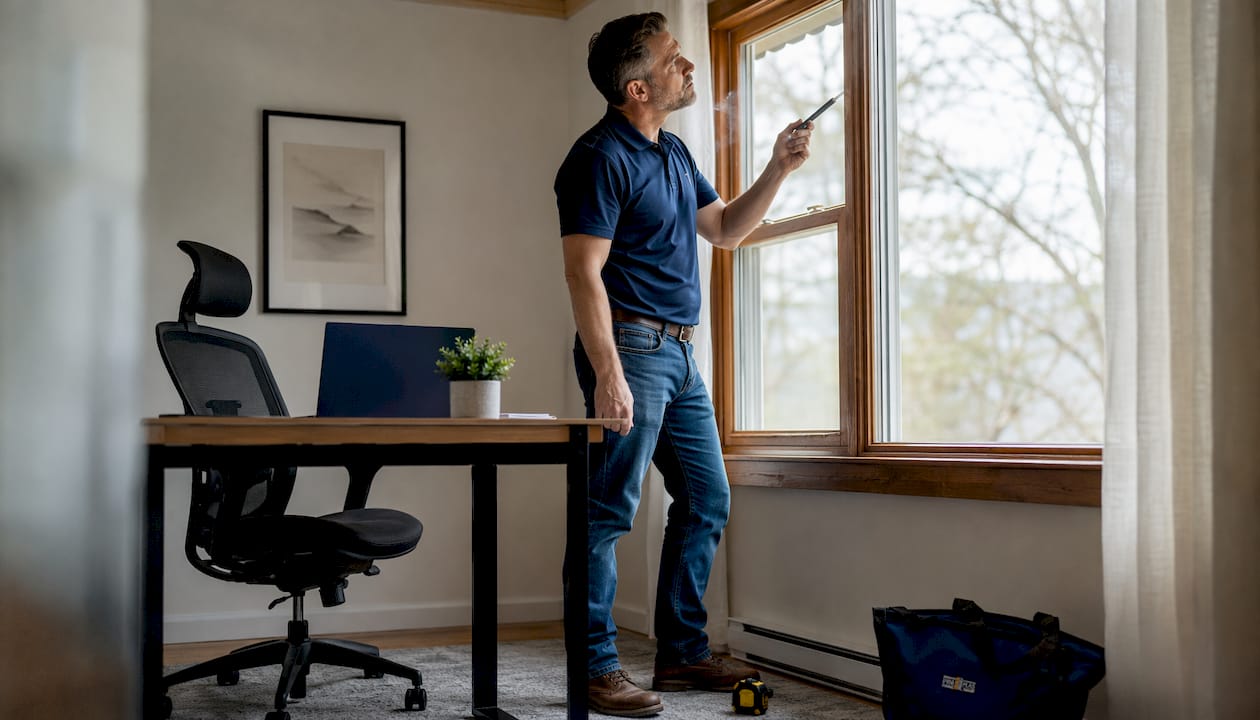
What window air leakage means and how to measure it
Window air leakage is the volume of air that passes through or around a window assembly, and it directly affects your energy bills, indoor comfort, and moisture levels. The NFRC rates air leakage on a scale where 0.3 is the threshold for Energy Star certification. Any window rated above 0.3 disqualifies a building from that certification. Lower numbers mean fewer drafts, lower utility bills, and better noise control.
Three measurement approaches are available to Canadian homeowners:
- Visual and tactile tests: Quick, no-cost checks using your hand, a tissue, or incense smoke near window seams.
- Blower door test: A professional assessment that depressurizes your home and quantifies air infiltration in cubic feet per minute (CFM) and air changes per hour (ACH), following ASTM E779 standards.
- Thermal imaging: An infrared camera scan that reveals cold zones around frames and sills, useful for pinpointing hidden gaps.
Not every draft signals a true air leak. Cold glass surfaces from a failed insulated glass unit (IGU) draw body heat and create a draft sensation without any actual air movement. Knowing the difference prevents you from chasing the wrong problem.
Window type also matters. Casement windows use compression seals that press tightly against the frame when closed, making them significantly more airtight than sliding or double-hung windows, which rely on slip joints that wear over time.
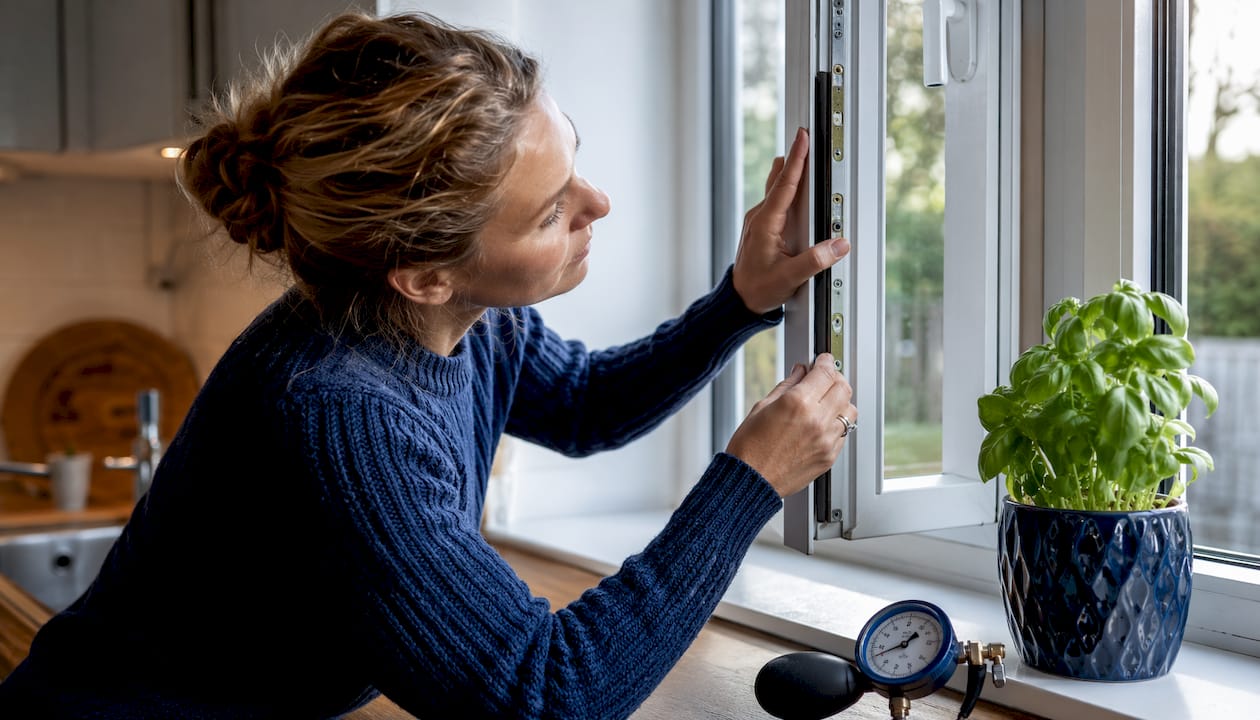
Pro Tip: A perfectly airtight window is not the goal. Controlled minor air passage allows interior moisture to escape, preventing mould and rot behind your walls.
Table of Contents
How to detect and measure air leaks around your windows, step by step
With 25 years of experience and over 10,000 satisfied customers, Proplas has seen the same leakage sources appear again and again. Most originate not through the glass, but at perimeter sealants and rough opening gaps between the frame and surrounding wall framing. Here is how to find them.
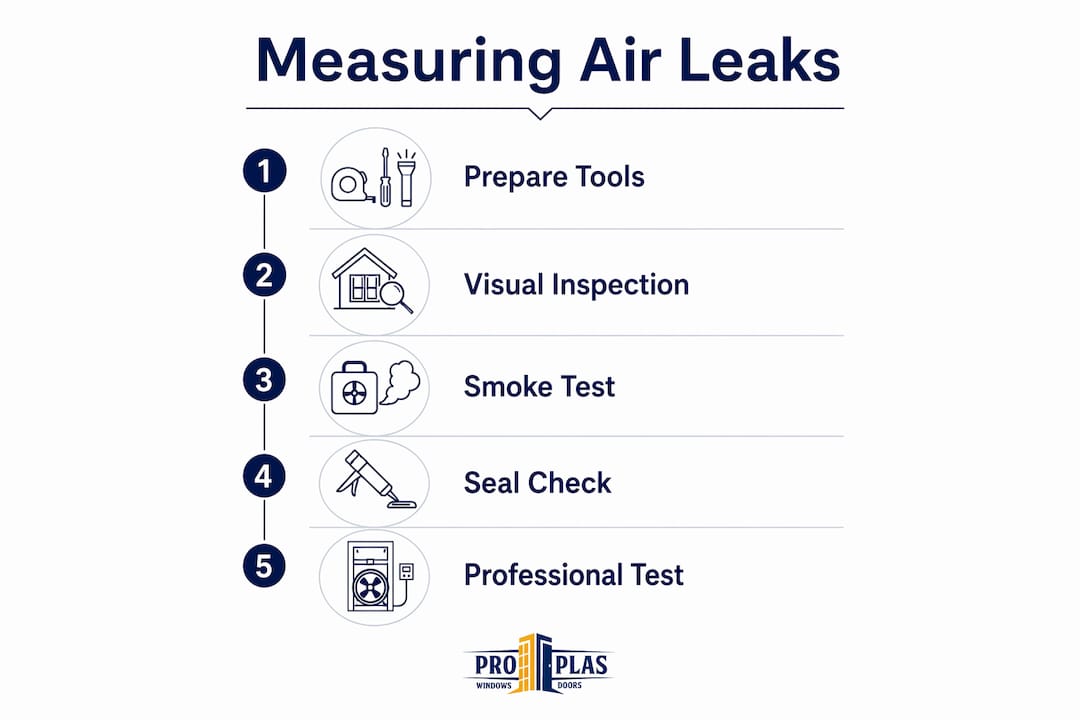
What you need: incense sticks or a thin tissue, a flashlight, a thermal camera (optional), and a notepad to log findings.
- Lock all windows. Latching a casement or awning window compresses the seal fully. Unlocked windows read as leakier than they actually are during any test.
- Visual inspection. Examine the perimeter caulking, weatherstripping, and the junction between the frame and interior drywall. Cracks, gaps, or missing sealant are immediate red flags. Signs of poor installation often show up here first.
- Hand test. On a cold, windy day, hold the back of your hand near the frame edges and sill. Moving air registers as a temperature drop. This works best when outdoor temperatures are well below indoor levels, which makes Canadian winters ideal for this check.
- Smoke or tissue test. Hold a lit incense stick or a single tissue near the seams. Movement of smoke or tissue confirms an air pathway. Work slowly around the full perimeter.
- Check the rough opening. Remove interior trim carefully to inspect the gap between the window jamb and framing. Large gaps need fiberglass or expanding foam; smaller ones take caulk. Wear gloves and eye protection when handling fiberglass.
- Weather conditions matter. Leaks are easier to detect on windy days or when there is a significant temperature difference between indoors and outdoors. Running kitchen and bathroom exhaust fans simultaneously creates a slight negative pressure that amplifies infiltration, making leaks more detectable without professional equipment.
- Professional blower door test. When DIY methods leave you uncertain, a certified energy auditor can conduct a full home air leakage test following ASTM E779. The test takes two to four hours and costs vary by region and home size. It produces CFM and ACH readings that quantify exactly how airtight your home is, and it can isolate which windows are contributing most to infiltration.
- Interpret your results. A blower door result showing high ACH at 50 Pascals of pressure indicates significant leakage. Window replacement studies show an average 6% reduction in air infiltration after replacing windows, so combining new windows with proper sealing of the rough opening delivers the most measurable gains.
- Seal and improve. After identifying leaks, window caulking and weatherstripping are the first fixes. For persistent or widespread leakage, replacement with Energy Star-certified windows is the most reliable long-term solution. Proplas backs every installation with a lifetime warranty, so the seal you get on day one holds for years.
Pro Tip: Pair your air leakage inspection with a check of your garage door and entry doors. Sealing the full building envelope compounds the energy savings from any single improvement.
If you are ready to move beyond patching and want windows built for Canadian winters, Proplas offers custom Energy Star windows with installation often completed in as little as three days.

Key takeaways
Measuring window air leakage at home starts with simple DIY checks and, when needed, a professional blower door test that quantifies infiltration in CFM and ACH to guide replacement decisions.
| Point | Details |
|---|---|
| NFRC 0.3 threshold | Windows rated above 0.3 for air leakage do not qualify for Energy Star certification. |
| Casement seals tighter | Casement windows use compression seals and outperform sliding or double-hung types in airtightness. |
| Cold glass is not always a leak | A failed IGU creates a draft sensation from radiant heat loss, not actual air movement. |
| Blower door quantifies leakage | Professional tests measure CFM and ACH per ASTM E779, giving precise data to guide replacement. |
| Rough openings are the main source | Most leakage occurs at the gap between the window frame and surrounding framing, not through the glass. |