
A draft near a window frame, condensation between glass panes, or a sash that no longer locks properly can turn a small household frustration into a larger planning decision. Replacement windows Toronto homeowners choose need to suit more than the view from the room. They need to fit the existing opening accurately, manage changing Southern Ontario weather, operate easily, and be installed with the surrounding wall, trim, and finishes in mind.
A good window project begins with the opening, not a catalog. The right style, glass package, replacement method, and installation details can vary from one room to the next, even within the same home.
Replacement Windows Toronto Homeowners Should Plan Around
Toronto-area homes include older brick houses, postwar bungalows, townhomes, and newer detached properties with very different wall assemblies and window conditions. A window that appears standard from indoors may have an uneven opening, deteriorated exterior trim, limited clearance, or interior finishes that affect how replacement work should proceed.
That is why accurate on-site measurement matters. The contractor should assess the width, height, squareness, sill condition, exterior cladding, and any signs of moisture around each unit. Measurements are not simply used to order a window. They help determine whether an insert-style replacement is appropriate or whether the existing frame should be removed so the complete opening can be rebuilt and properly finished.
An insert replacement generally retains a sound existing frame and places a new window within it. This can reduce disruption to interior and exterior finishes, but it also slightly reduces the visible glass area. A full-frame replacement removes the existing frame and allows closer inspection of the rough opening, insulation, flashing approach, and exterior trim. It can be the better choice when the old frame is damaged, water has affected surrounding materials, or a homeowner wants to change the window configuration.
Neither method is automatically better. The condition of the opening should drive the decision, along with the desired result and the scope of finishing work.
Choose Window Operation for the Room
Window style affects ventilation, cleaning, daylight, furniture placement, and how the room is used. It is worth making this decision one opening at a time rather than selecting a single style for the whole house by default.
Casement windows open outward on hinges and are often selected where strong ventilation and a tight closing seal are priorities. They work well in kitchens, living areas, and bedrooms where there is room outside for the sash to swing. Awning windows hinge at the top and open outward from the bottom. They are practical above a sink or in a bathroom, and their design can allow fresh air during light rain when conditions permit.
Picture windows do not open, but they provide broad glass area and uninterrupted views. They are often paired with operating casement or awning units so a larger opening delivers both daylight and ventilation. Single-hung, double-hung, single-slider, double-slider, and end-vent slider windows may suit locations where an outward-swinging sash would interfere with a walkway, deck, landscaping, or an exterior screen.
For bedrooms, operation is also connected to emergency exit requirements. The usable opening, not just the overall window size, needs to be considered. Specialty-shape windows can add architectural character, but they should be planned carefully because their shape, surrounding trim, and glass configuration may limit future operating options.
Glass and Configuration Affect Everyday Comfort
The glass package has a direct effect on how a room feels near the window. In a Toronto winter, colder interior glass surfaces can contribute to discomfort and condensation. In a sunny room, unmanaged solar gain can make the space harder to use during the summer.
Low-emissivity coatings, insulated glass units, gas fills, and the spacing between panes all contribute to thermal performance. The best combination depends on orientation and room use. A west-facing family room with large glass areas may benefit from a different solar-control approach than a shaded north-facing bedroom. Privacy glass may make sense in a bathroom or where homes are closely spaced, while decorative grilles can support the character of a traditional facade.
Do not evaluate glass separately from the frame and installation. A high-performing glass unit cannot compensate for gaps, poor sealing, damaged surrounding materials, or an installation method that does not suit the opening. Homeowners should also understand that indoor humidity, window coverings, and air circulation influence condensation. New windows can improve surface temperatures, but they do not eliminate the need for sensible moisture control inside the home.
Color, exterior capping, interior trim, screens, and hardware deserve the same level of planning. A black exterior frame, for example, may complement a modern renovation but can make inconsistencies in trim and finishing more visible. Hardware should be accessible and comfortable to operate, particularly for windows installed over counters, tubs, or furniture.
Installation Is Where Product Choices Become a Working System
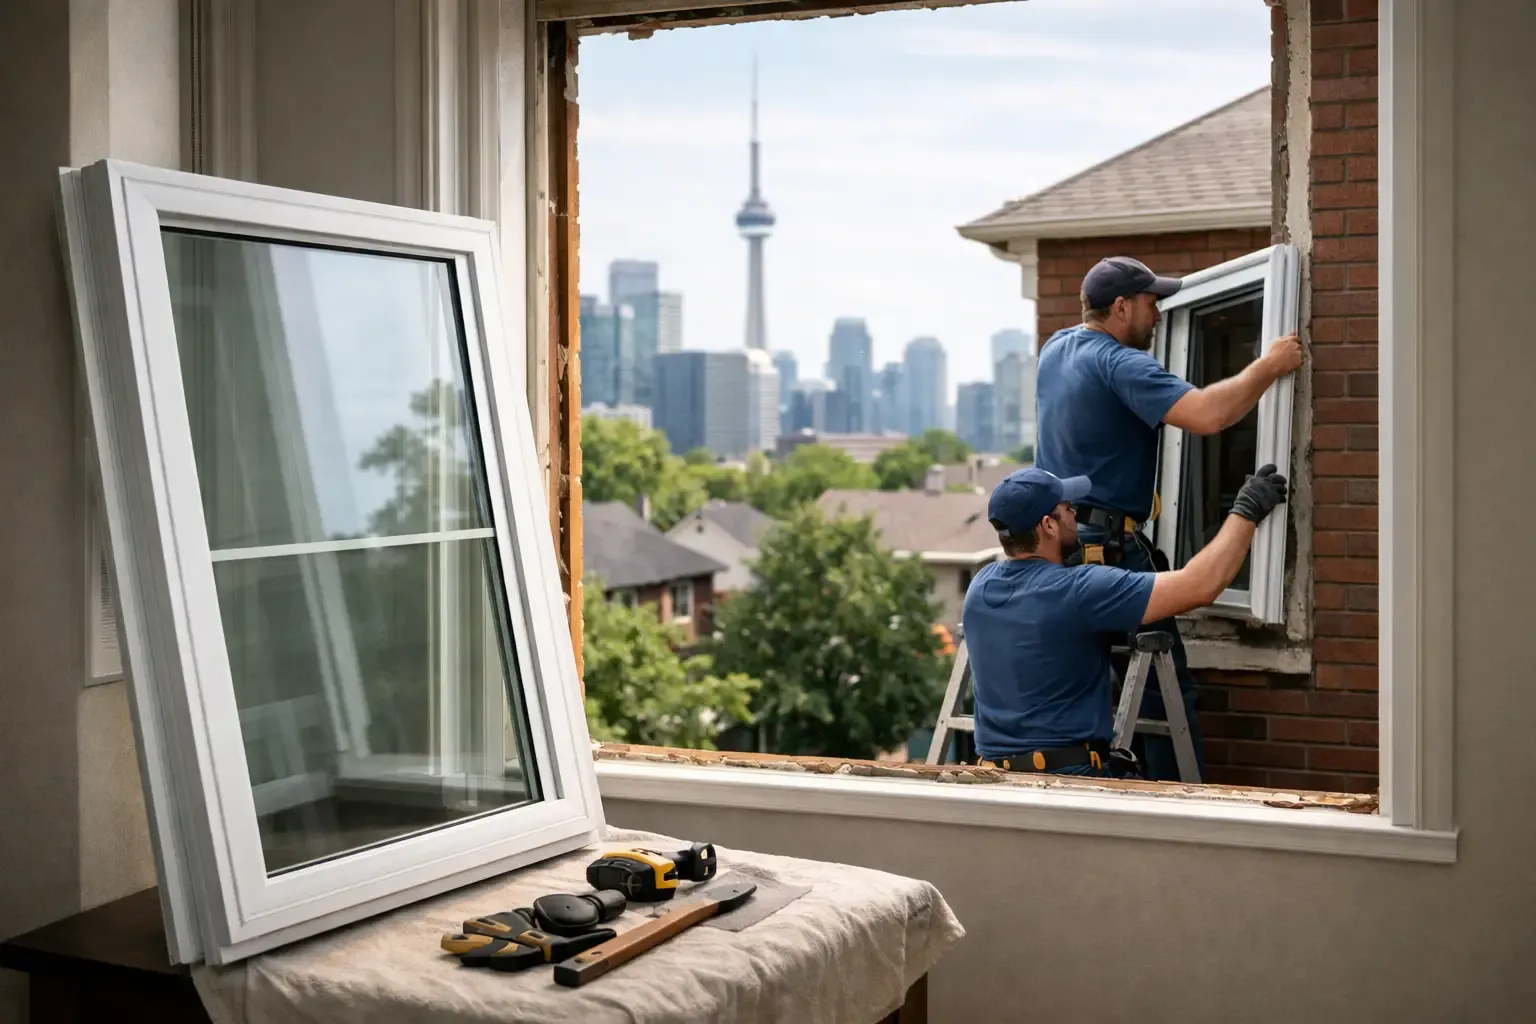
A replacement window should arrive configured for the measured opening and selected options, but installation determines how that product performs in the house. The work typically involves protecting nearby surfaces, removing the existing unit, inspecting the opening, positioning and fastening the new window, insulating and sealing the perimeter, and completing interior and exterior finishing.
The sequence matters. A window that is not level, plumb, and square may bind, fail to lock smoothly, or create uneven reveals around the sash. Insulation needs to be placed carefully so it supports the assembly without distorting the frame. Exterior details need to direct water away from the opening rather than trapping it behind trim or cladding.
Finishing should be defined before work begins. Depending on the project, this can include exterior aluminum capping, replacement brickmould, caulking, interior casing, drywall repair, or paint touch-ups. Homeowners should ask what is included, what conditions could change the scope, and how existing trim or cladding will be handled. Clear answers prevent the common disappointment of expecting a finished appearance when only basic installation was quoted.
Older homes may reveal concealed issues after the old window is removed. Minor rot, deteriorated sills, uneven framing, or damaged exterior trim can require additional repair. This does not mean every project becomes complicated. It means the quote and consultation should acknowledge the possibility and establish how site conditions will be documented and addressed.
A Practical Process for Replacing Windows
The first conversation should establish the number of windows, current problems, preferred styles, and any priorities such as reduced drafts, easier cleaning, privacy, curb appeal, or a larger glazed area. Photos can help provide an initial direction, but final product selection should follow an on-site review.
During measurement, each opening should be assessed individually. This is the time to confirm operation, frame color, glass, grille pattern, hardware, screens, interior trim, and exterior finishing. If one opening needs a full-frame replacement while others can be completed as inserts, that distinction should be visible in the scope rather than discovered on installation day.
Before installation, review the order details and plan access around furniture, window coverings, alarm contacts, pets, and parking. On the day of work, the crew should protect work areas, remove debris as the project proceeds, and test every operating unit before handoff. Final checks should include opening and closing action, locks, screens, visible caulking and trim, and a review of basic care requirements.
After installation, homeowners should know who to contact with questions. Keep tracks clear, check weep holes where applicable, avoid aggressive cleaners on frames and glass coatings, and report any operating concern early. A direct aftercare contact is particularly valuable on larger projects, where a minor adjustment can be handled before it becomes a recurring annoyance.
Compare Quotes by Scope, Not Just Window Count
Two quotes with similar window counts can represent very different projects. One may include removal, disposal, exterior capping, interior finishing, upgraded glass, and site repairs. Another may price only the basic unit and installation. The lower number is not necessarily the lower final cost if important work is left undefined.
Ask each contractor to explain the product series, operating style, glass selection, replacement method, finishing details, warranty responsibilities, and anticipated installation schedule. A clear scope gives homeowners a useful basis for comparison and gives the installation team a better starting point on site.
For a few failed windows or a whole-home update, the most dependable path is to plan each opening around how the home is built and how the room is used. Proplas approaches the work this way: with measured conditions, defined options, and installation details that are discussed before the old window comes out. That preparation makes the final decision easier to live with long after the work area is cleaned up.